|
Air Conditioning System
08/07/15 - 09/25/15
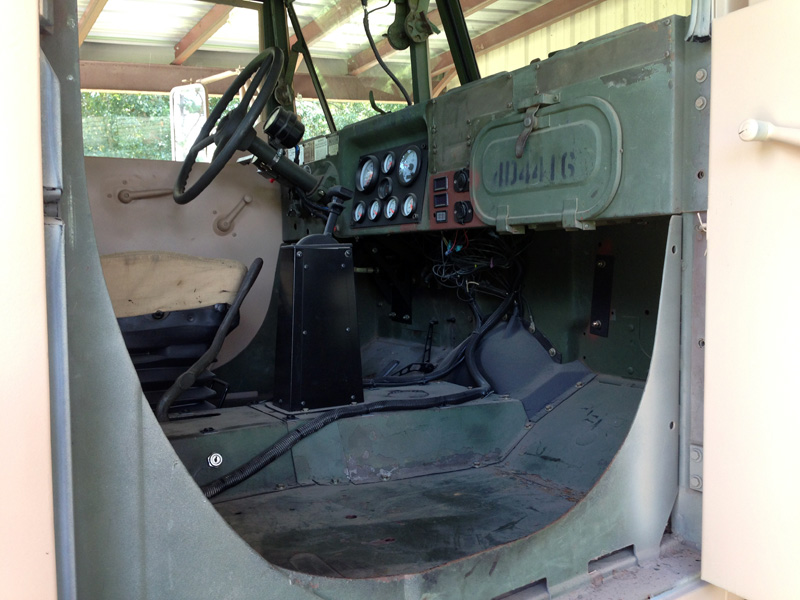
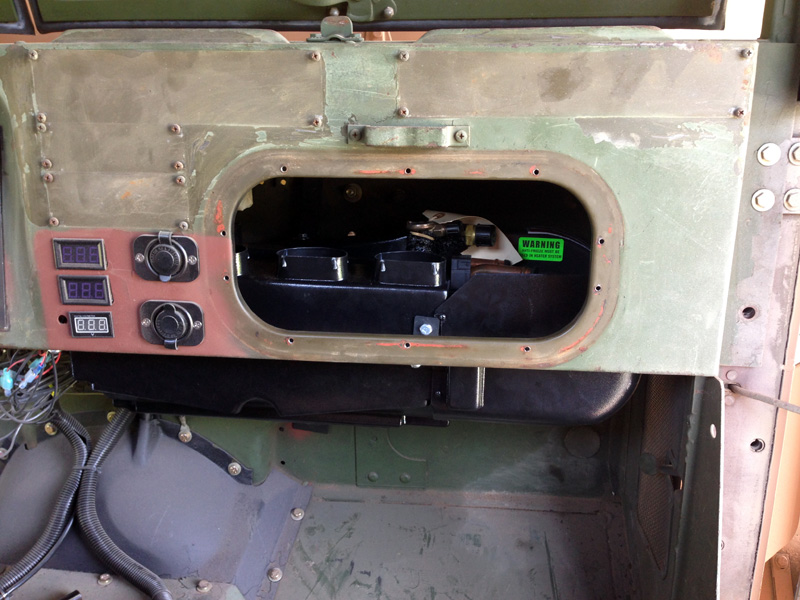
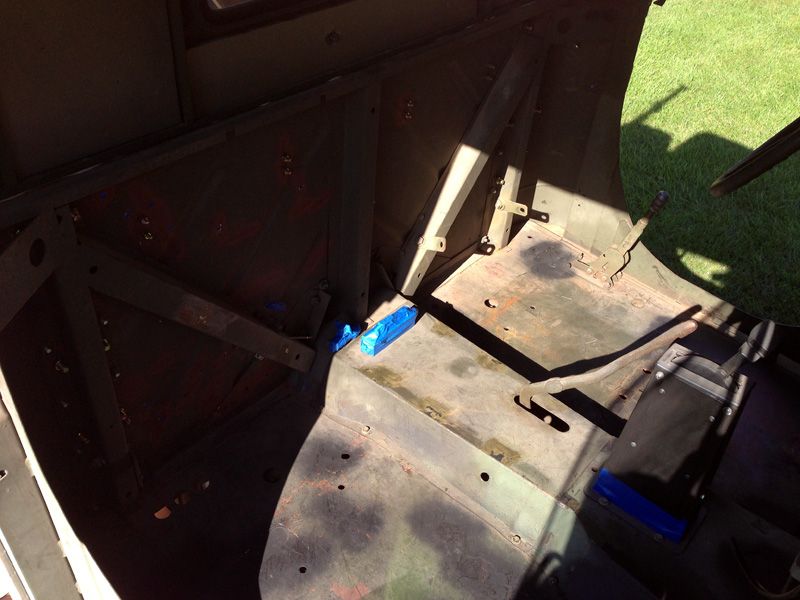
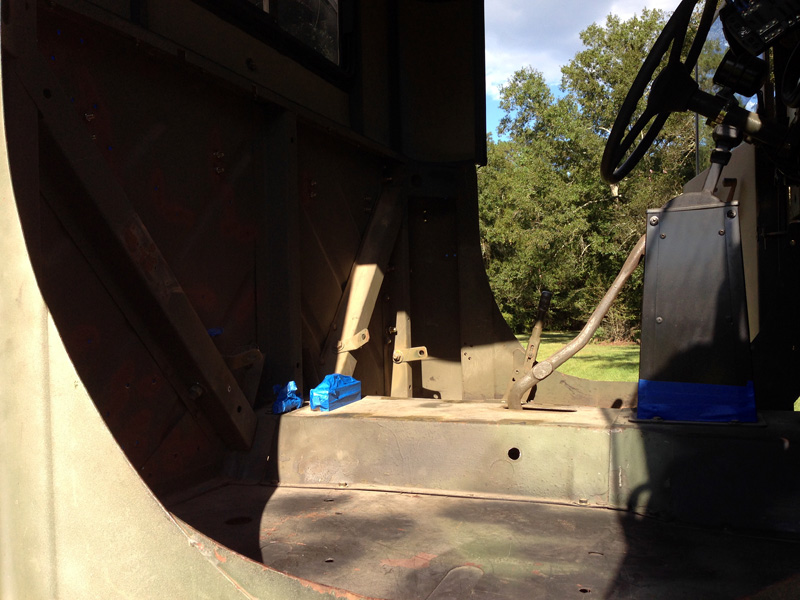
I bet greater than 95% of the military vehicles that are sold to the general public do not have air conditioning in them. Some are equipped with heaters, and a handful may have an old Red Dot A/C unit installed, but for the most part you sweat it out. The proper procedure for driving a Deuce without A/C is to crack each of the windshields forward one click, and open the side floor vents. That is the only 2 things you are supposed to do. Unfortunately,
most people roll the side windows down which is NOT CORRECT. Having the 2 windshields and the floor vents open makes the cabin pressurized. The air comes in through the windshields and it is pushed out the bottom side vents. To test this theory just drive down the road and drop an empty water bottle. It will easily get sucked to one of the 2 floor vents.
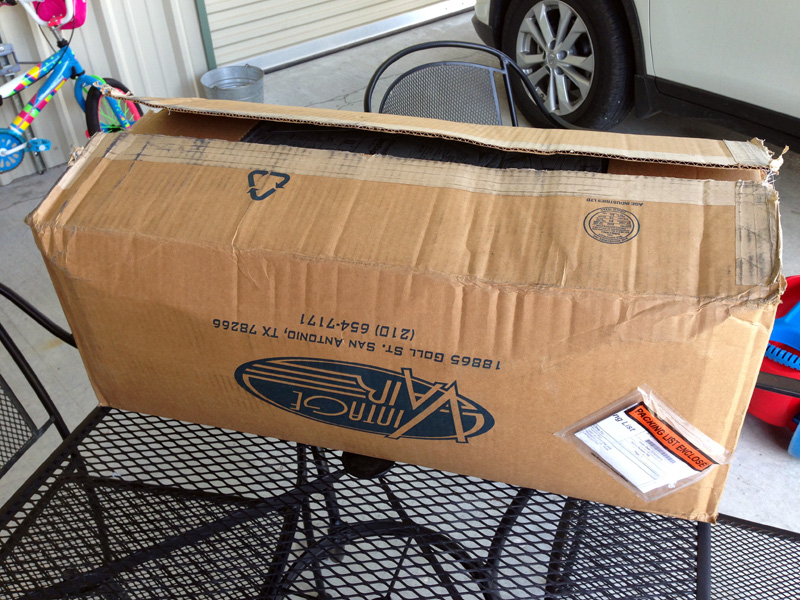
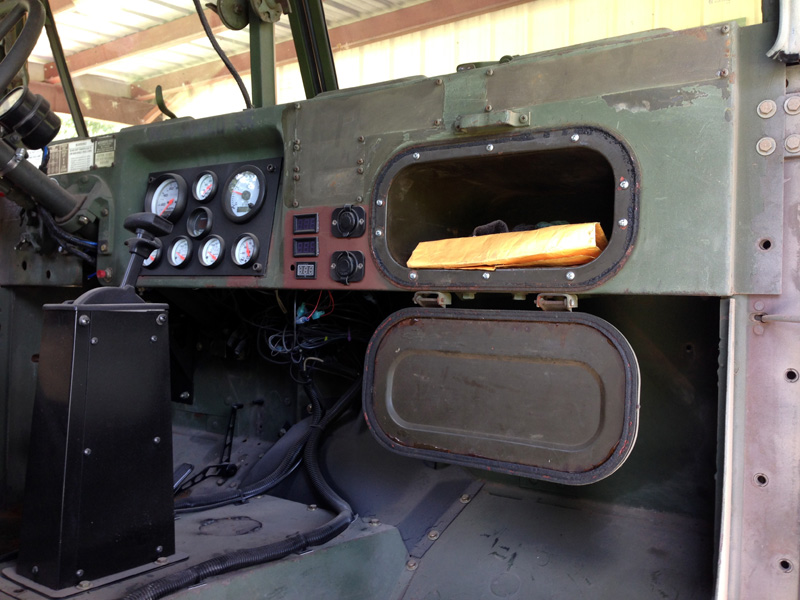
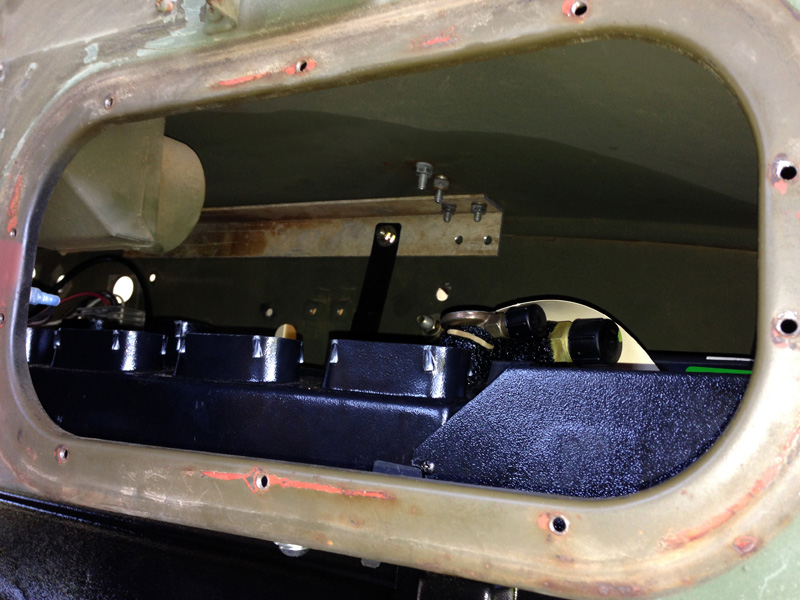
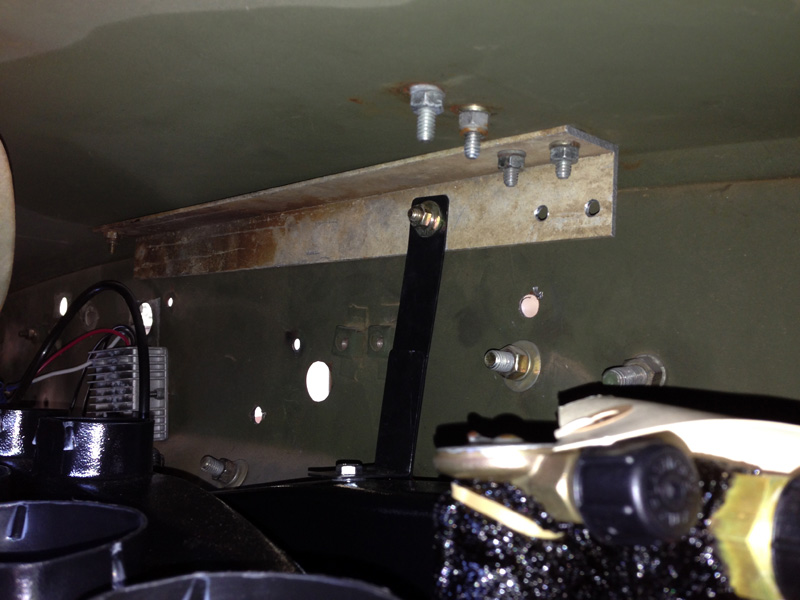
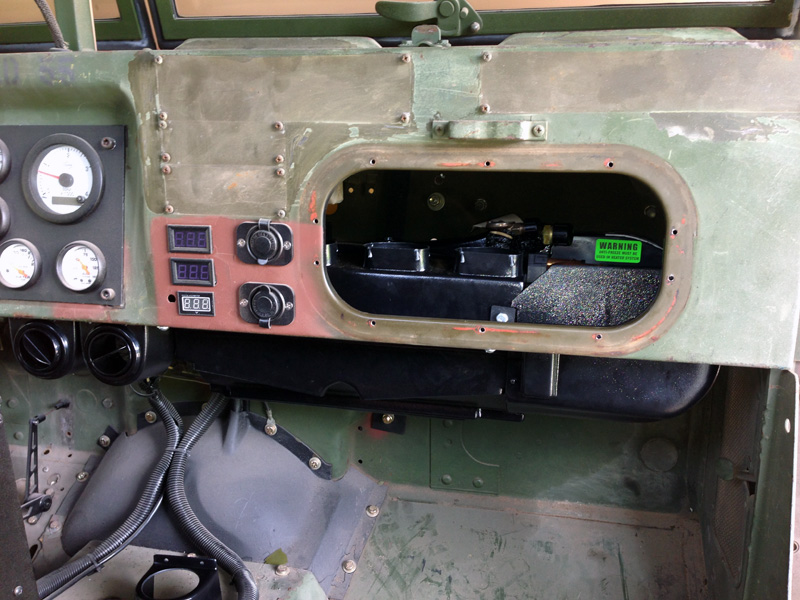
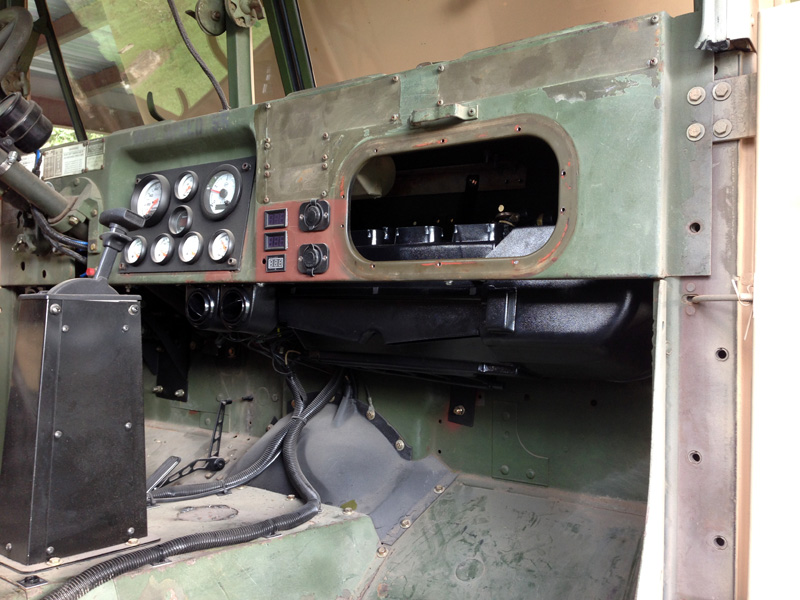
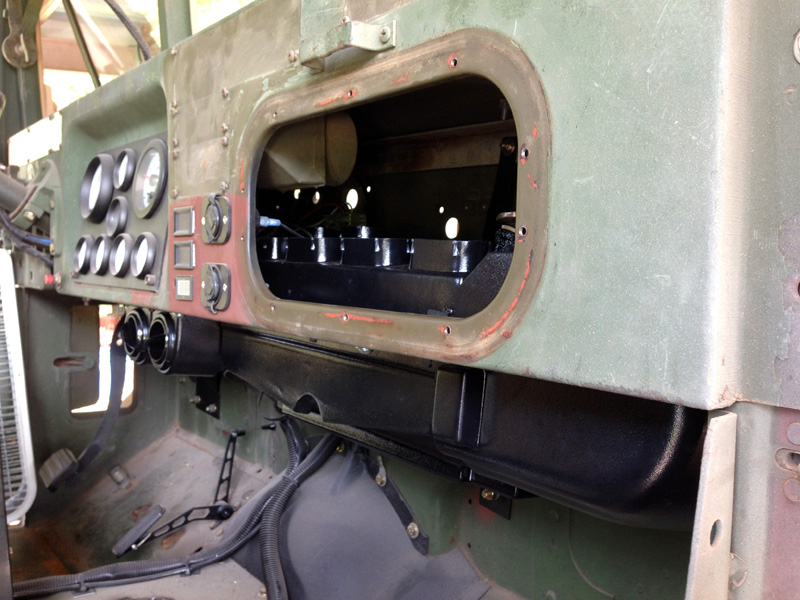
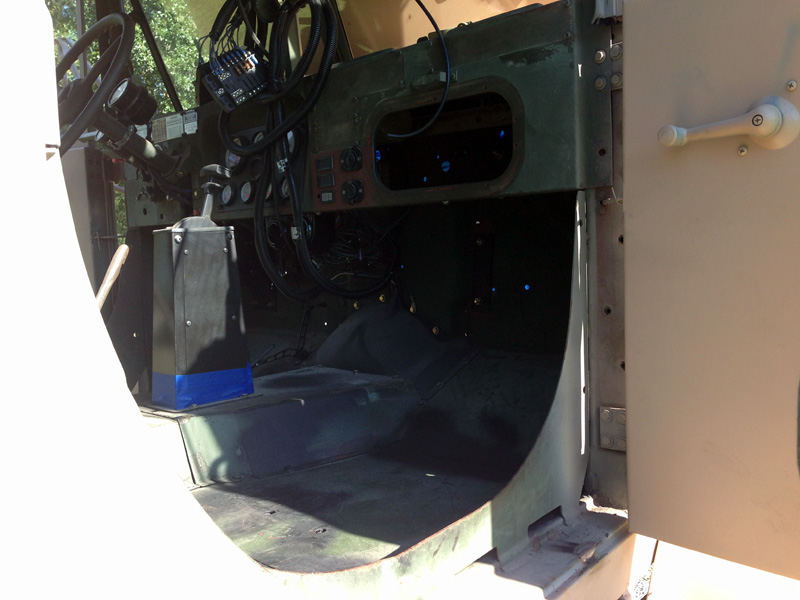
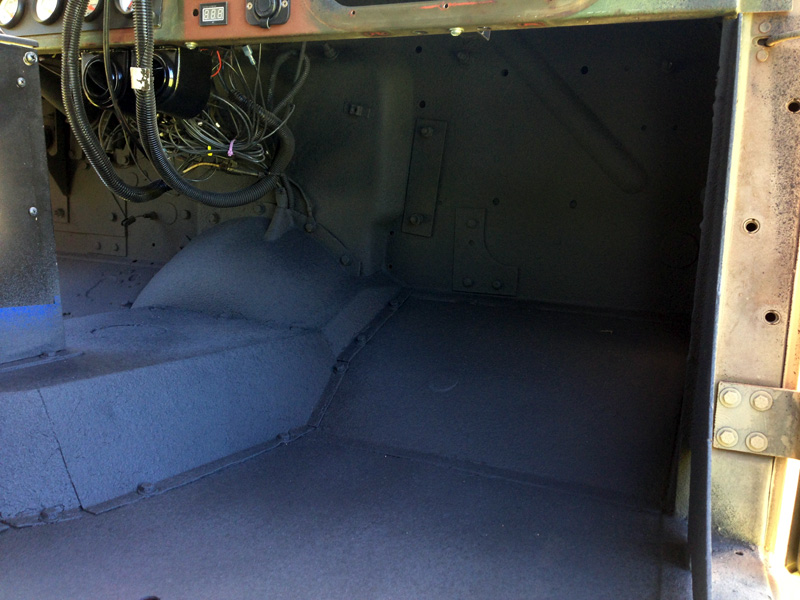
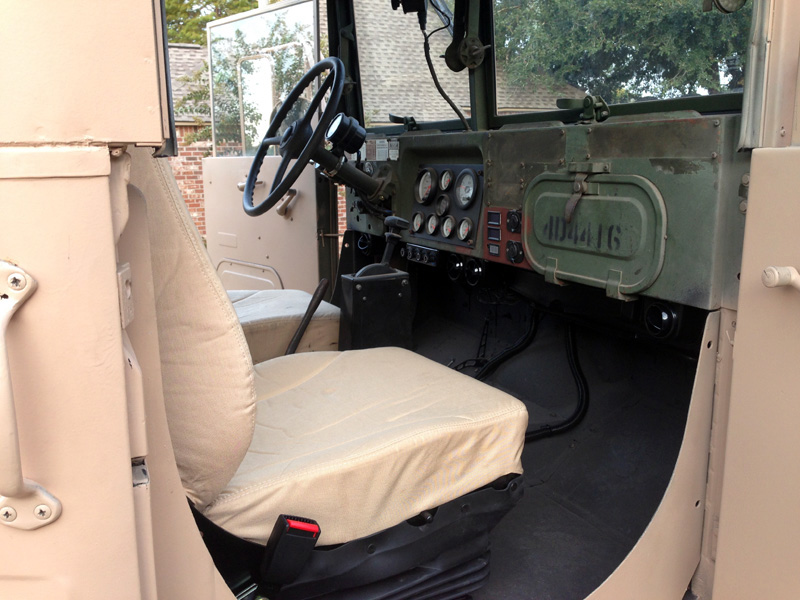
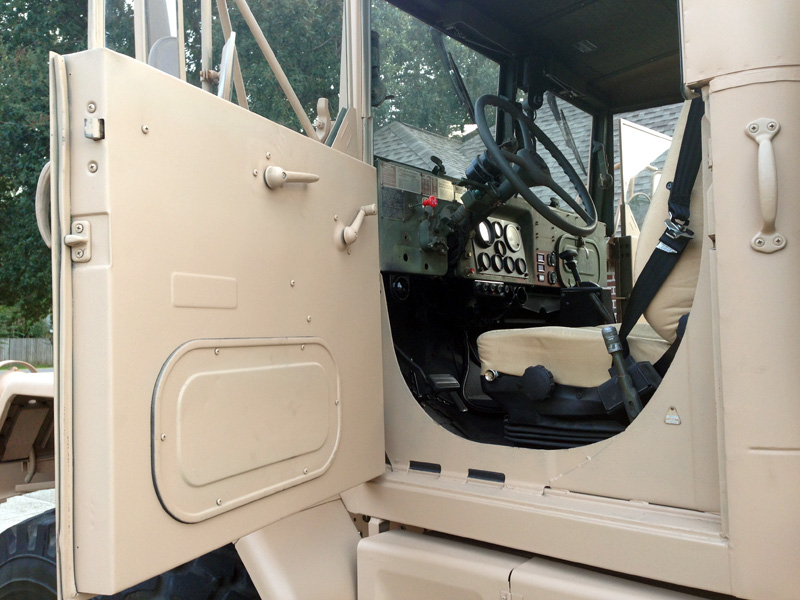
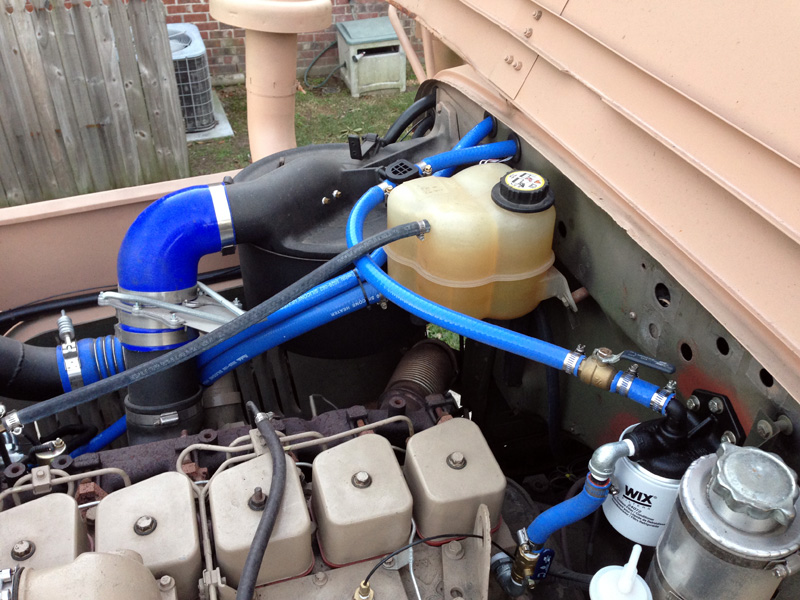
Having lived in Louisiana my entire life I decided to make my bobbed Deuce as comfortable as a typical civilian vehicle with an A/C system (cool/heat/defrost). My Deuce already has the defrost vents installed in the dash, so I all need to do is connect the defrost ducting for whatever system I purchase to them. I dreaded having to pull the dash out to install the new A/C system. Researching for several days led me to the A/C systems manufactured by Vintage Air. To save a little
coin I chose to purchase my Vintage Air components from one of the biggest re-sellers of Vintage Air kits in the United States which is Wheels of Time in Mississippi (www.vintageautoairconditioning.com). Call Gary and he will help you with whatever vehicle you want to put A/C in.
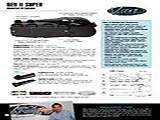
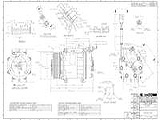
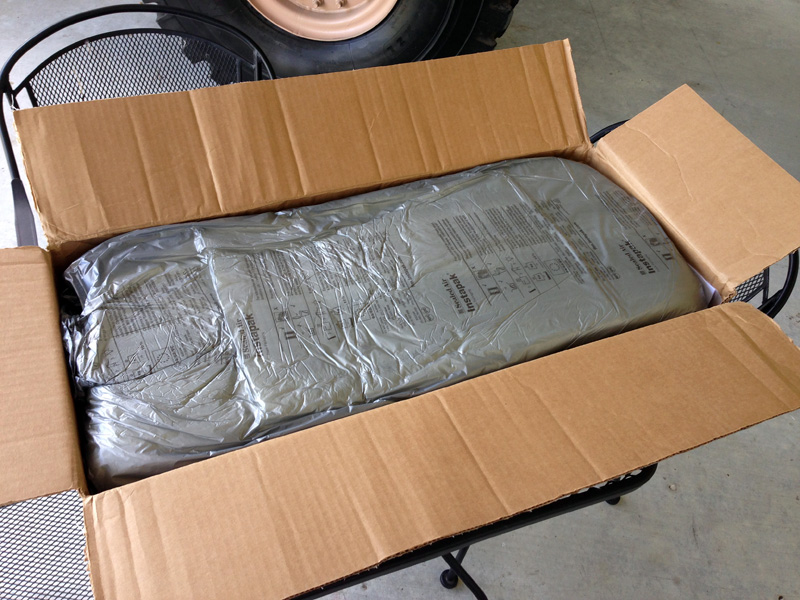
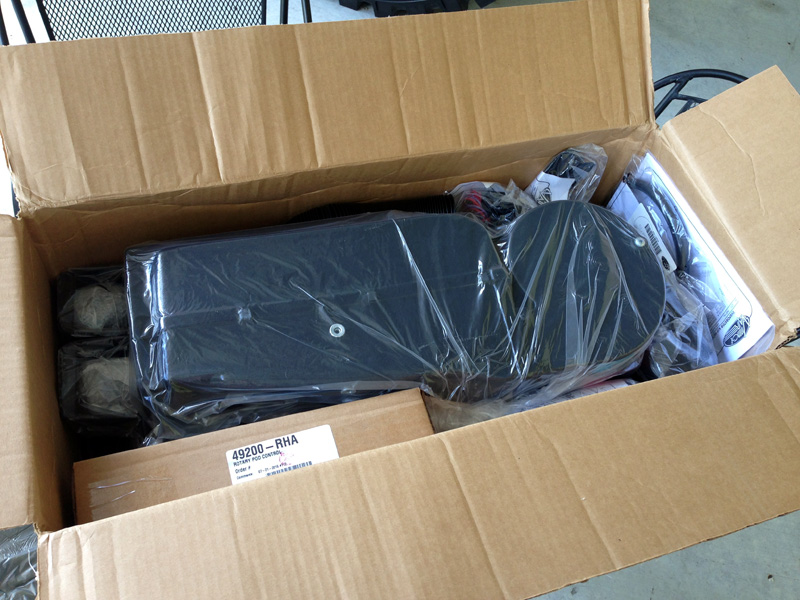
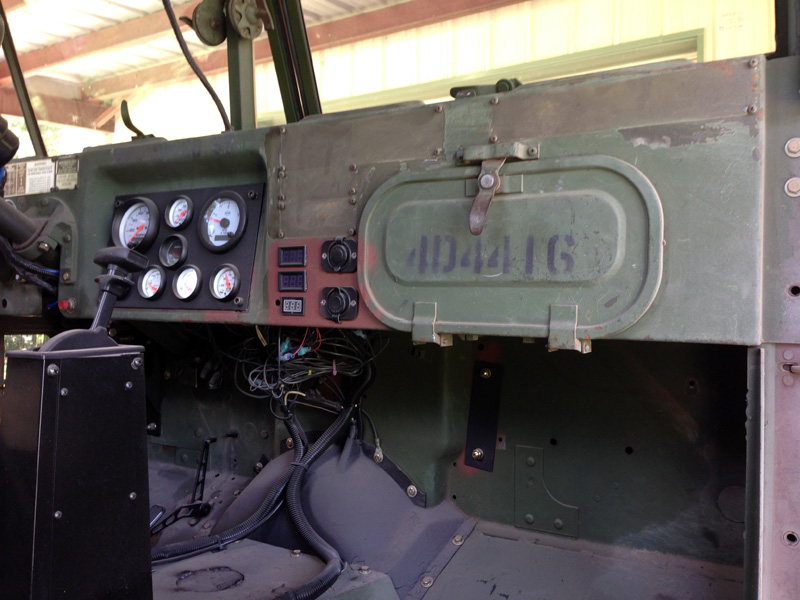
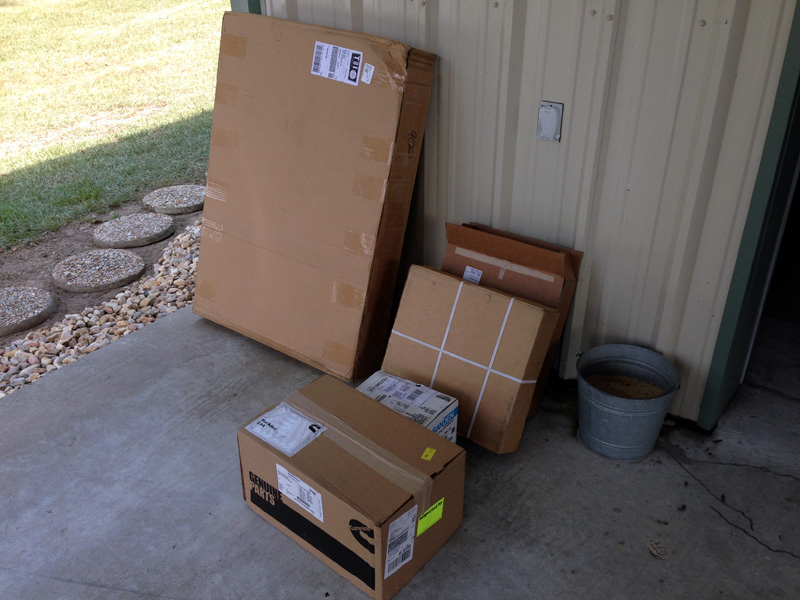
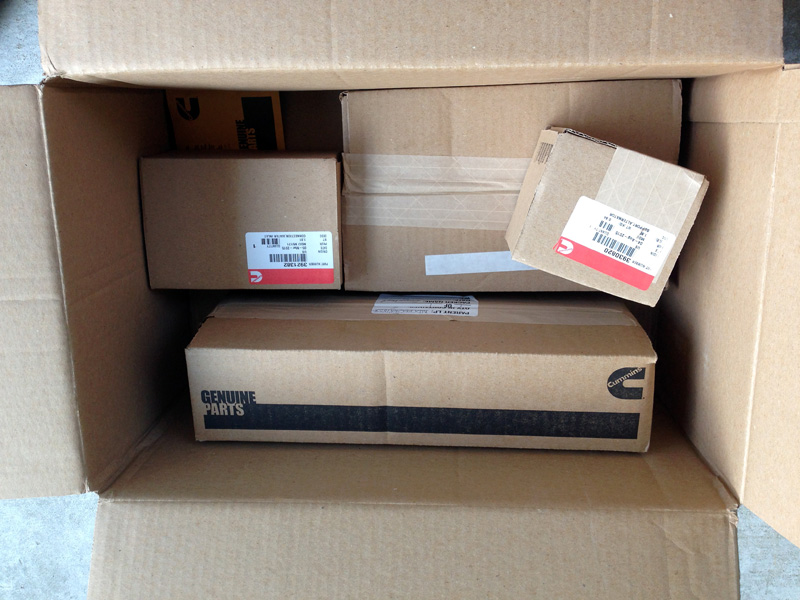
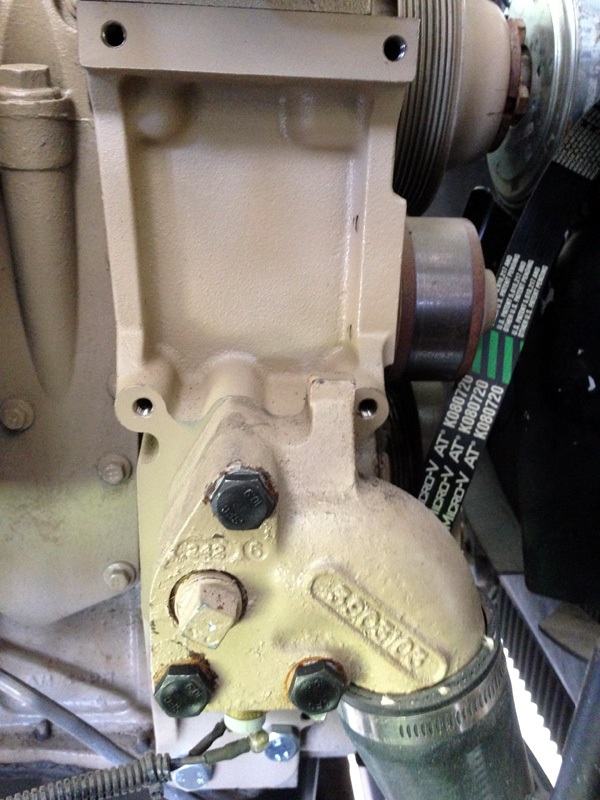
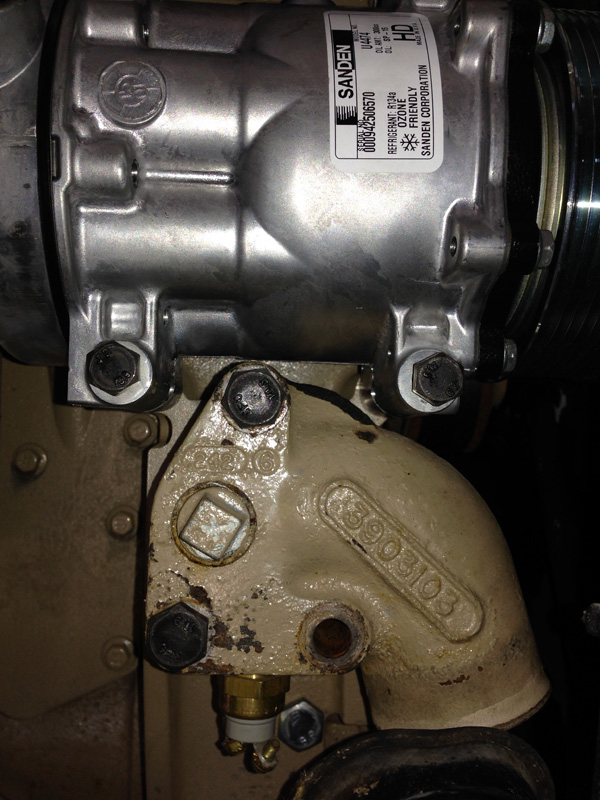
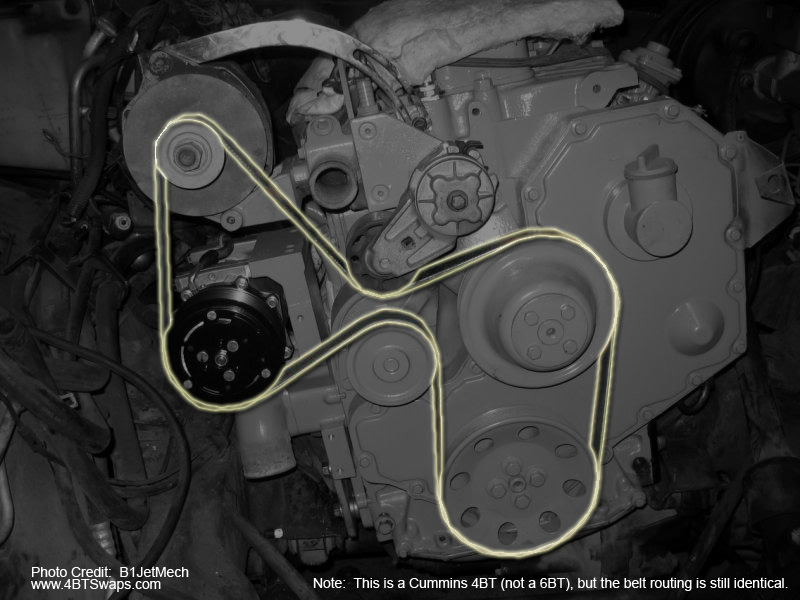
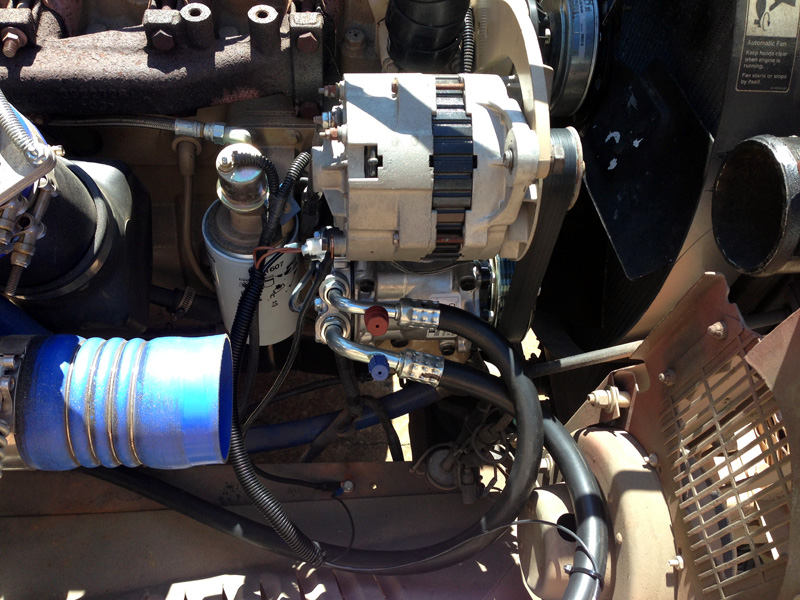
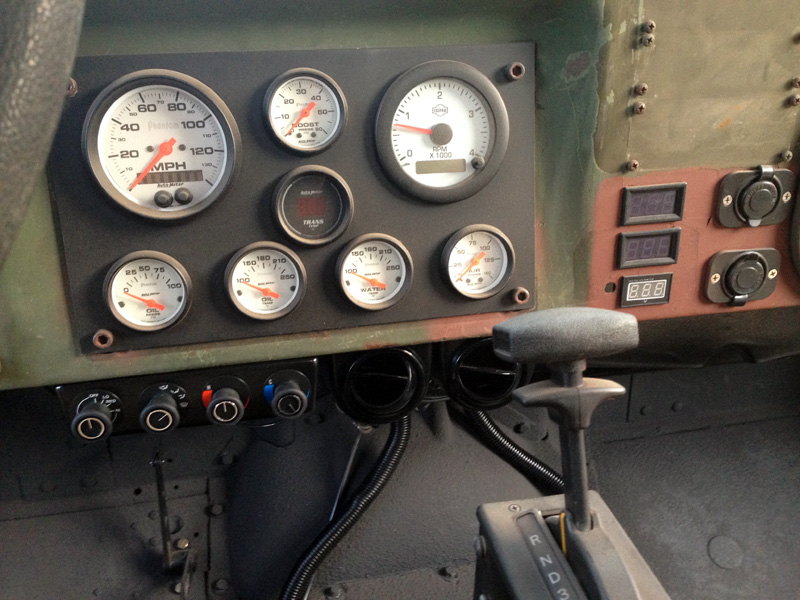
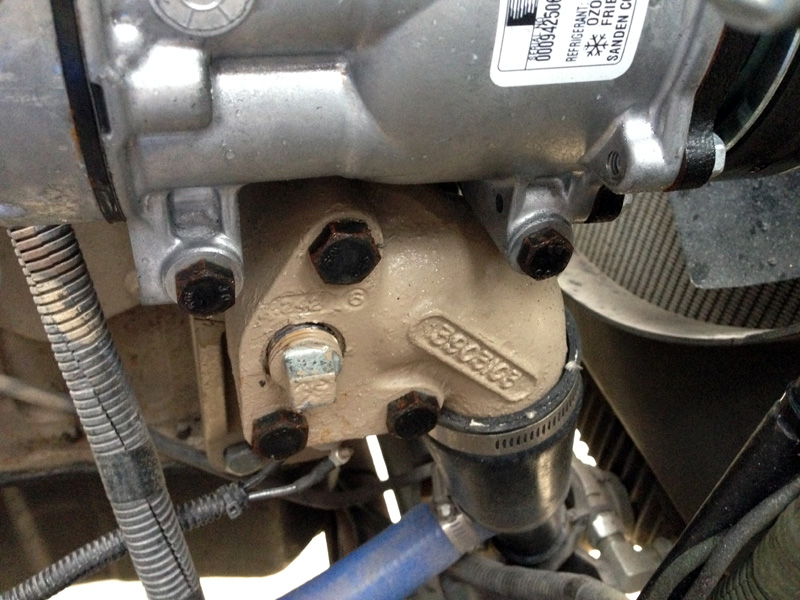
The particular A/C system I purchased to install in my Bobbed Deuce is the Vintage Air Gen II Super. This system is normally sold for owners of larger sedans or station wagons. I figured this would be perfect for the cab of a Deuce. The compressor I chose was a no brainer, the Sanden 4474 heavy duty unit. I had to purchase the A/C compressor directly from Sanden because Wheels of Time did not stock that item. Below is a list of parts that I purchased from Wheels of Time as well as Cummins parts to mount the Sanden
compressor in the engine bay.
A/C parts:
1) Vintage Air parts:
- Vintage Air Gen II Super system with cool, heat, and defrost [61005-VUZ-A]
- Gen II 4 knob underdash control pod [49200-RHA]
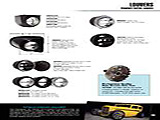
- (4) Underdash round black louvers (vents) [49354-VUL]
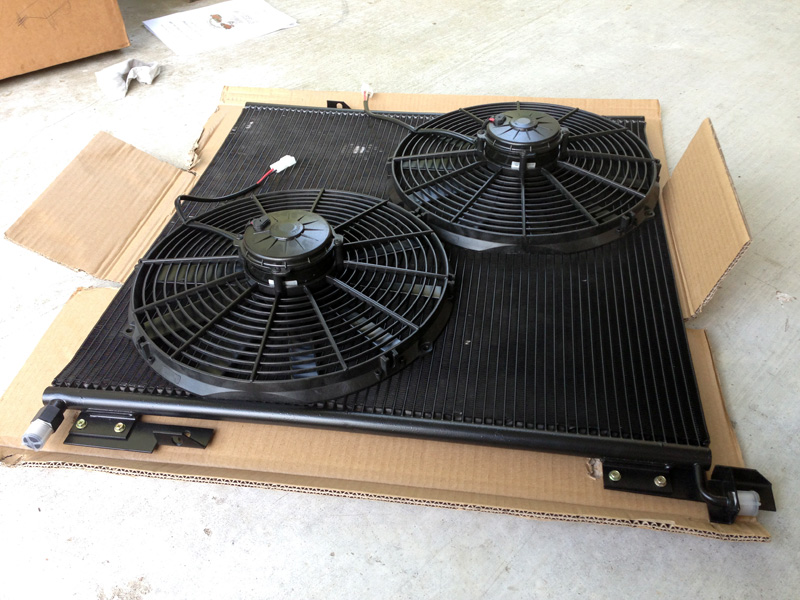
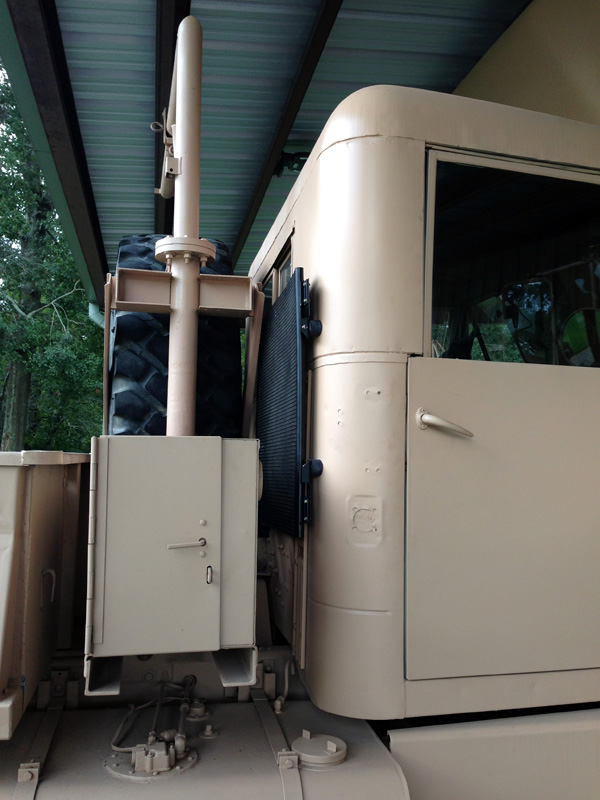
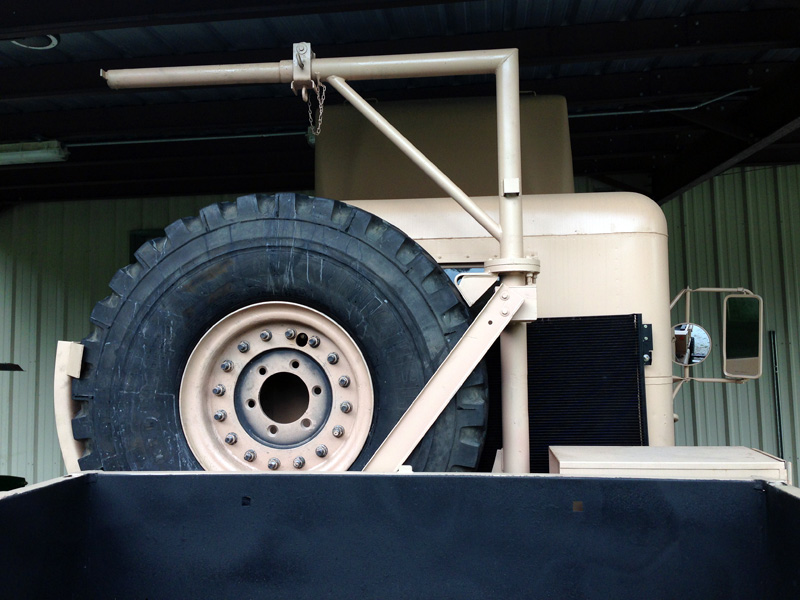
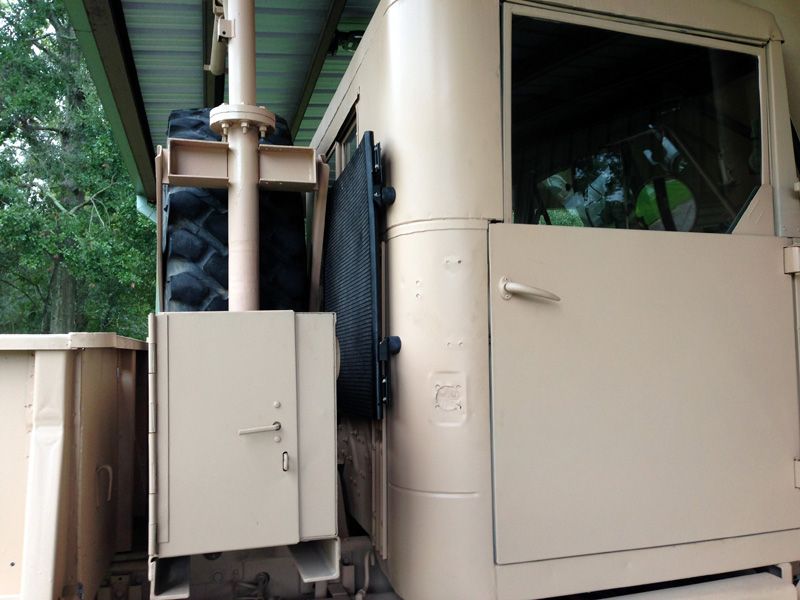
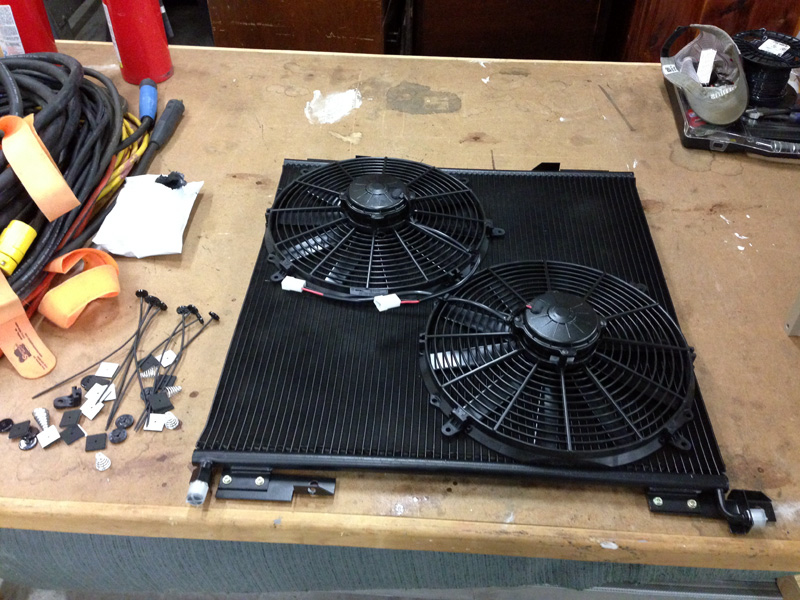
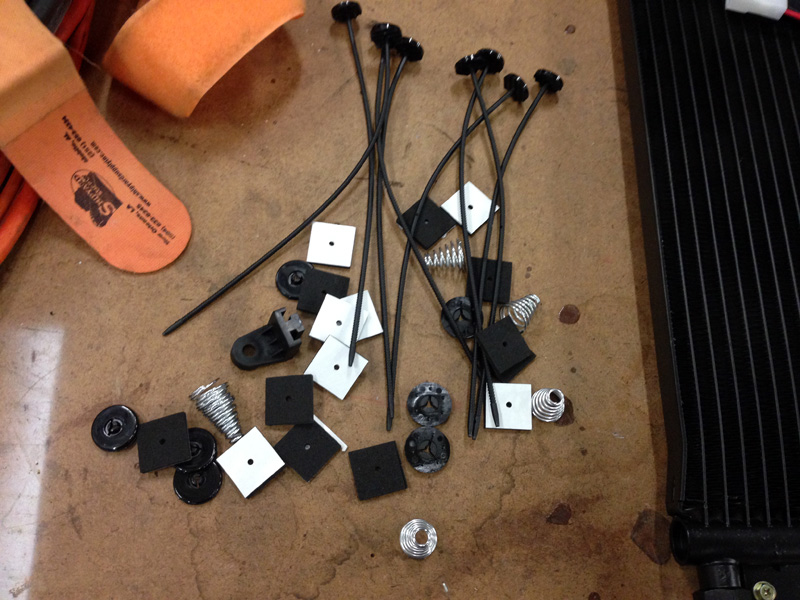
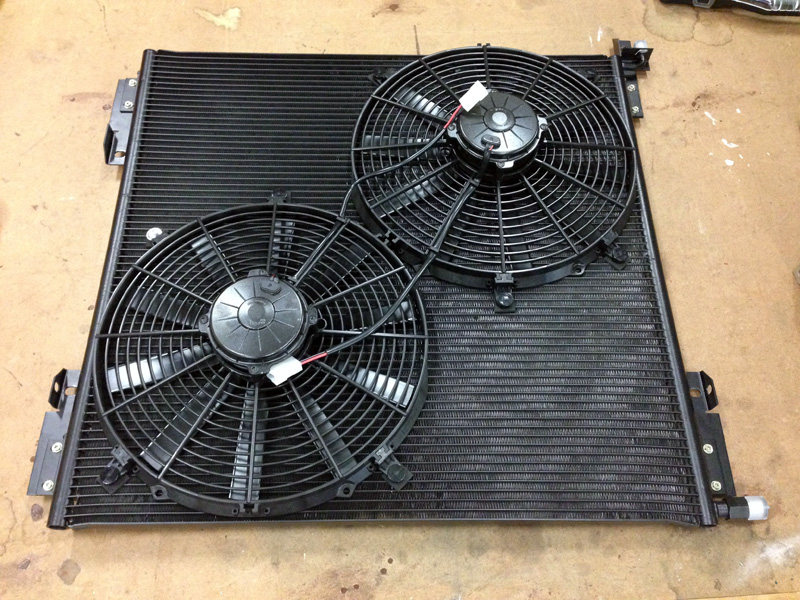
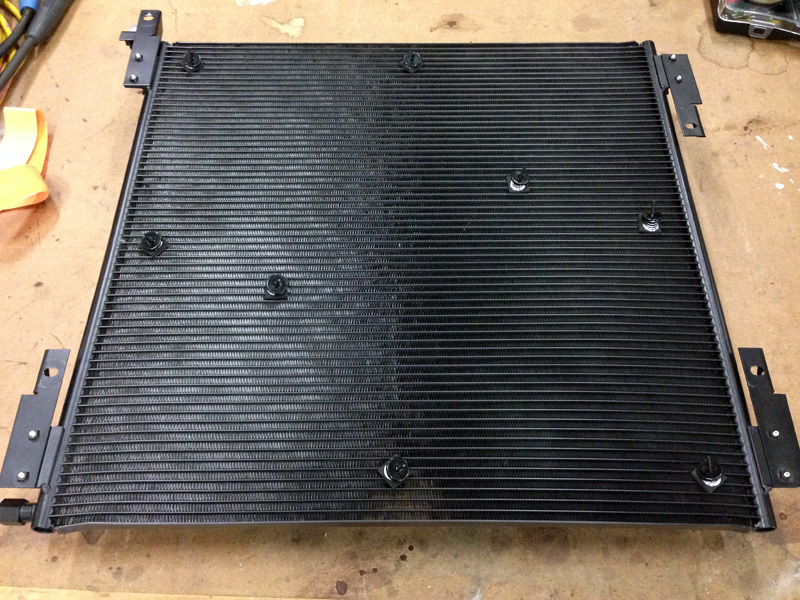
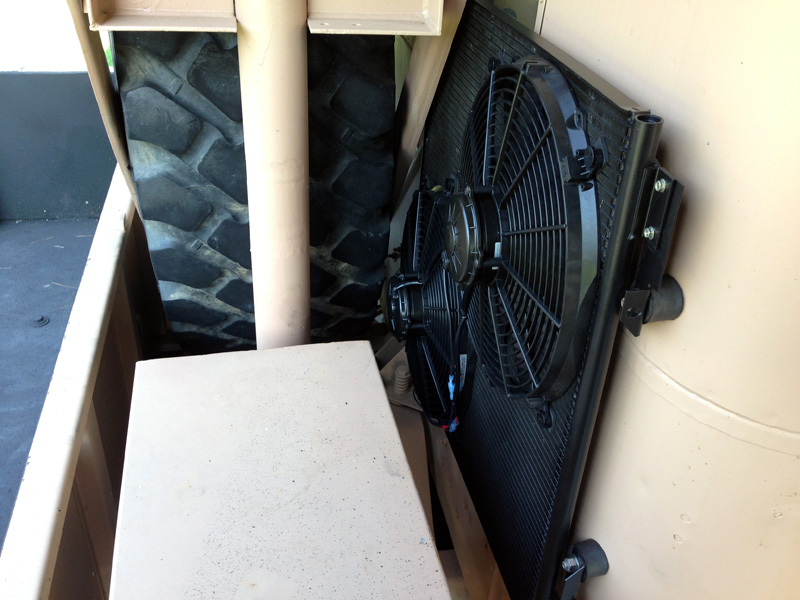
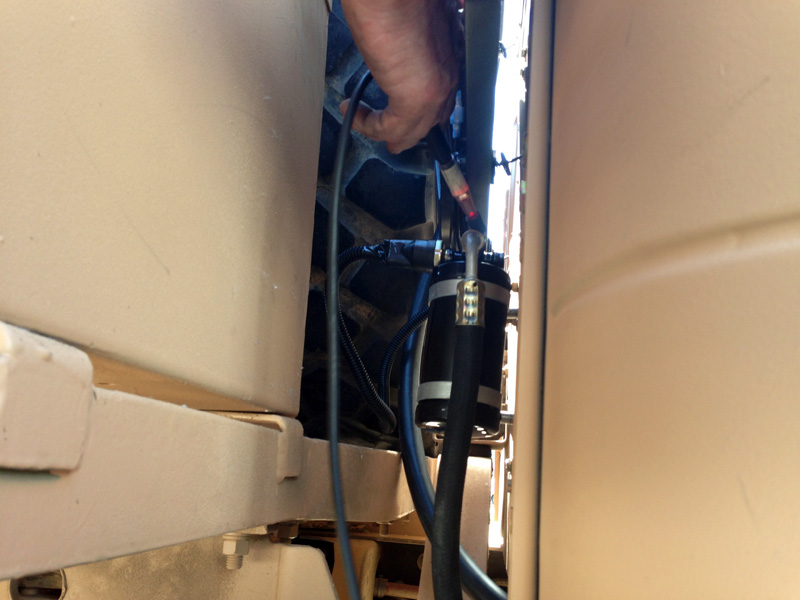
- 26" x 27" Parallel Flow Condenser [TBI custom]
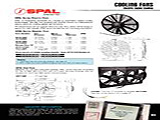
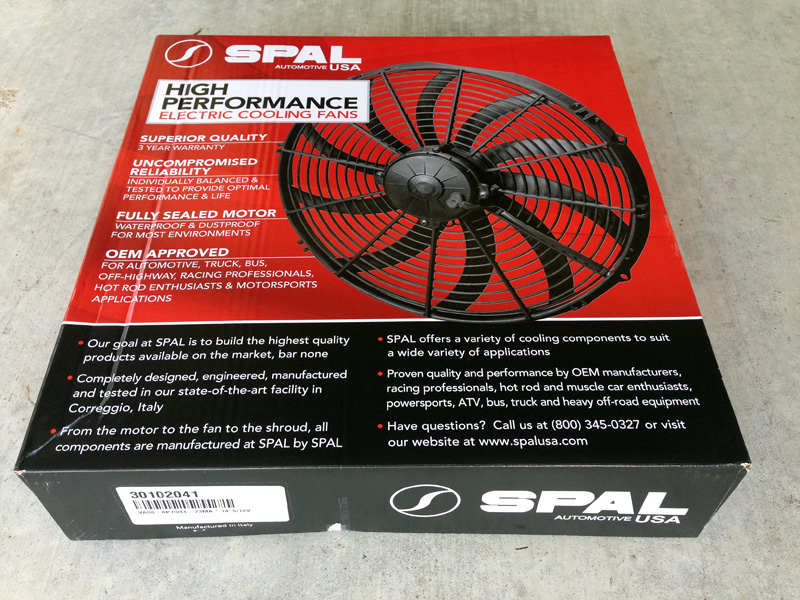
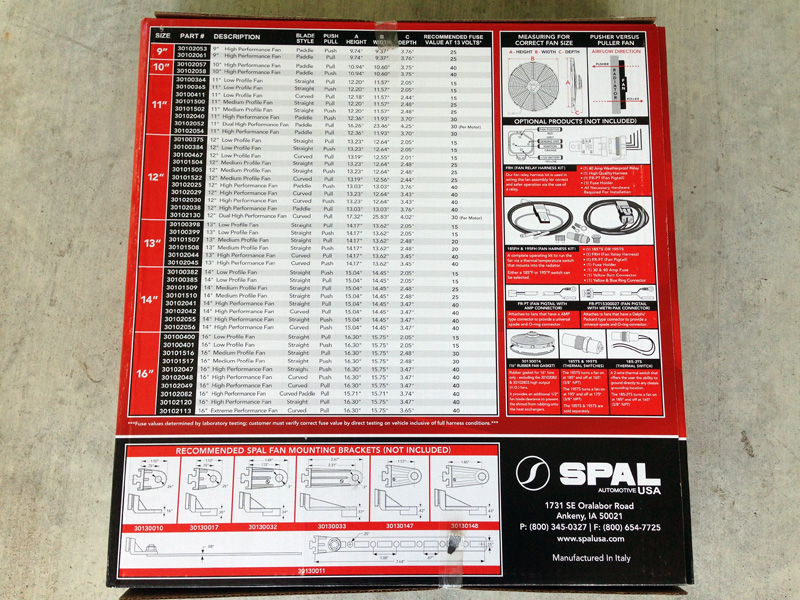
- (2) 14" SPAL puller fans (1623cfm each) [32141-SHF]
- (2) 180 degree duct adapter for center vents [605004-VUA]
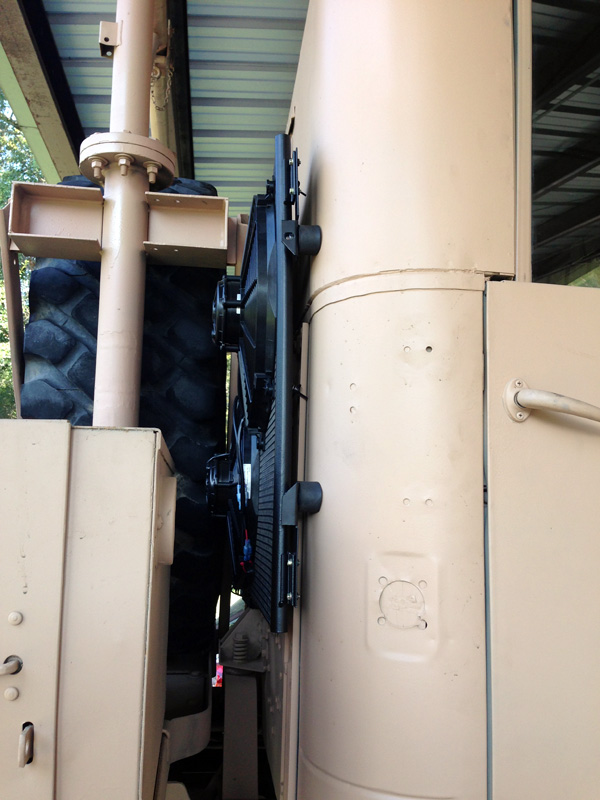
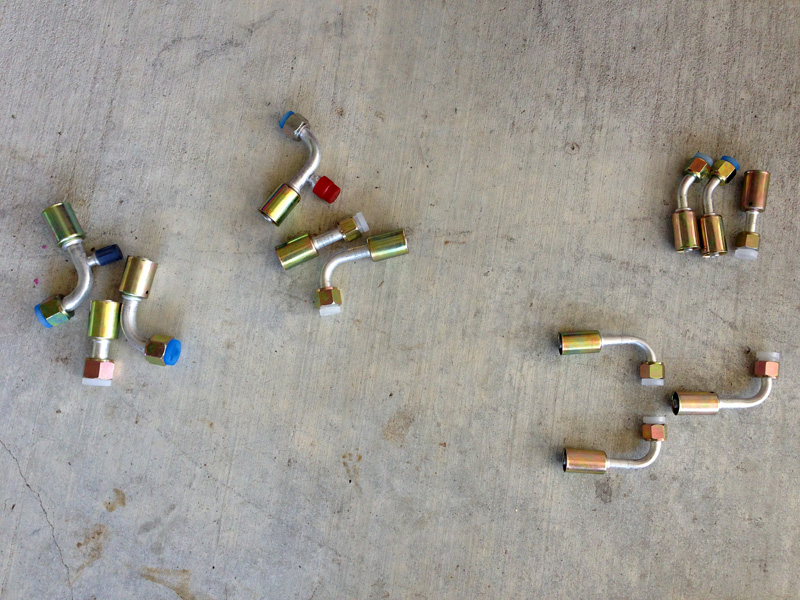
- Custom hose kit with hoses to mount condenser behind Deuce cab [A1WOTS-XL]
- Binary switch with harness [SS0602]
- Dryer [included with hose kit]
2) Cummins OEM parts:
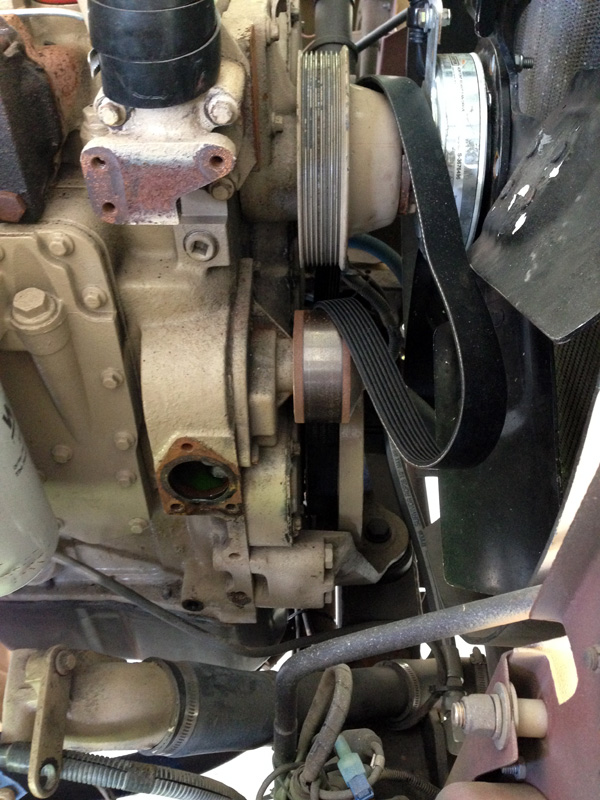
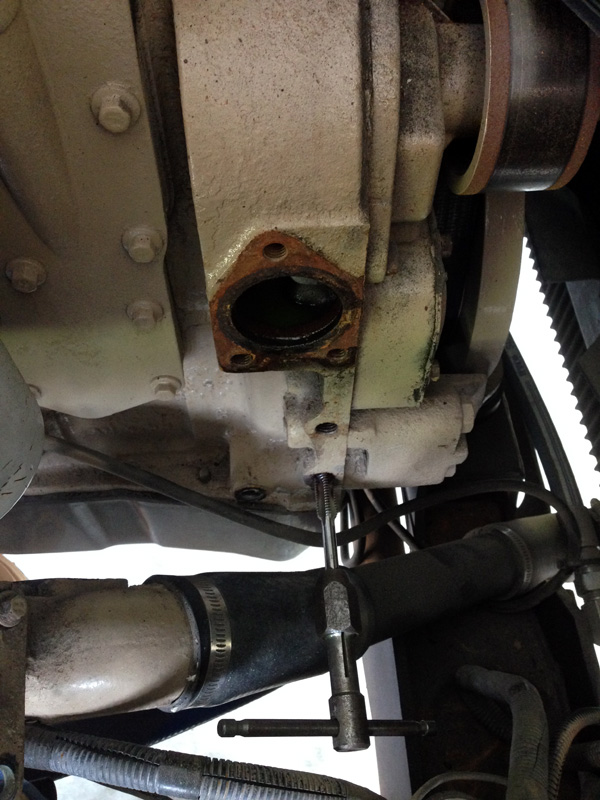
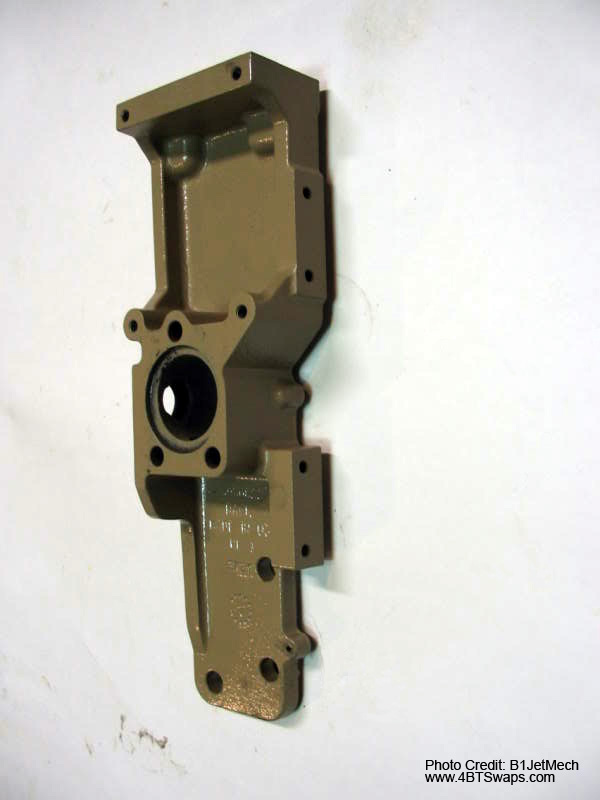
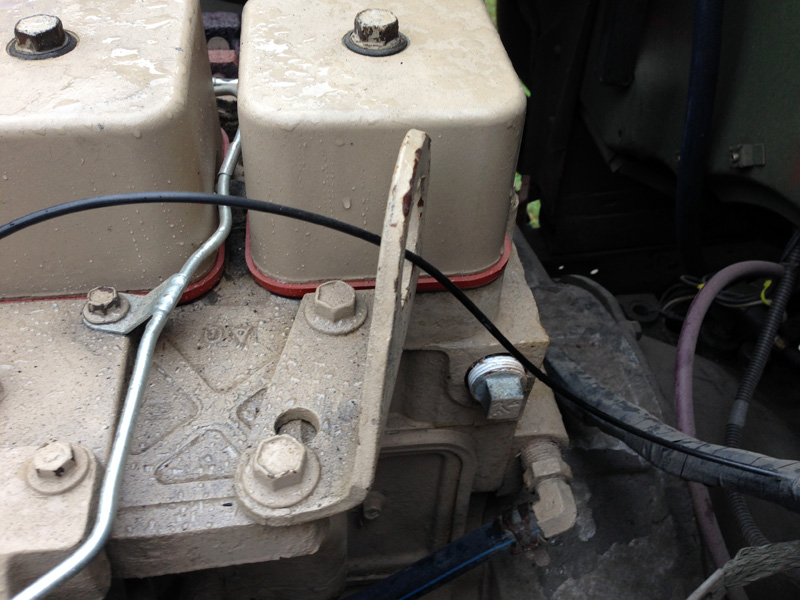
- 3930888 Water Inlet Housing / Compressor Mount
- 3906697 Square cut water inlet gasket
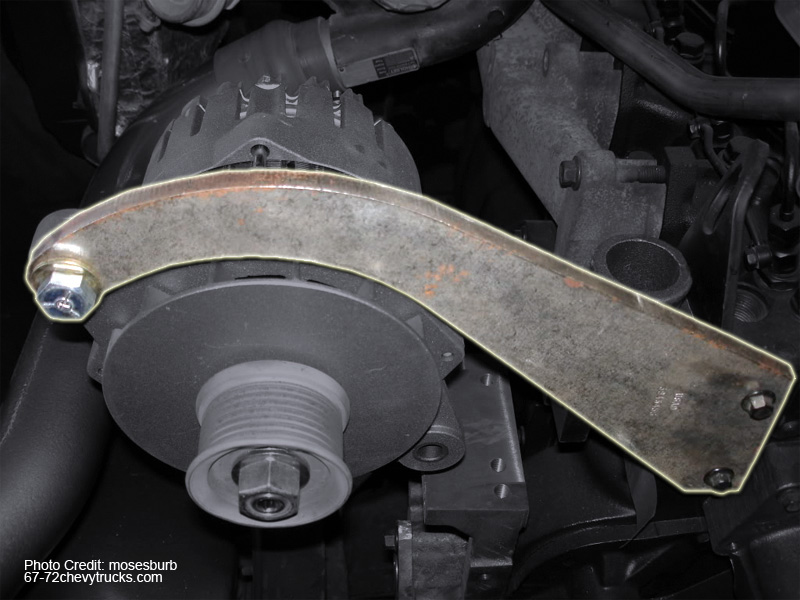
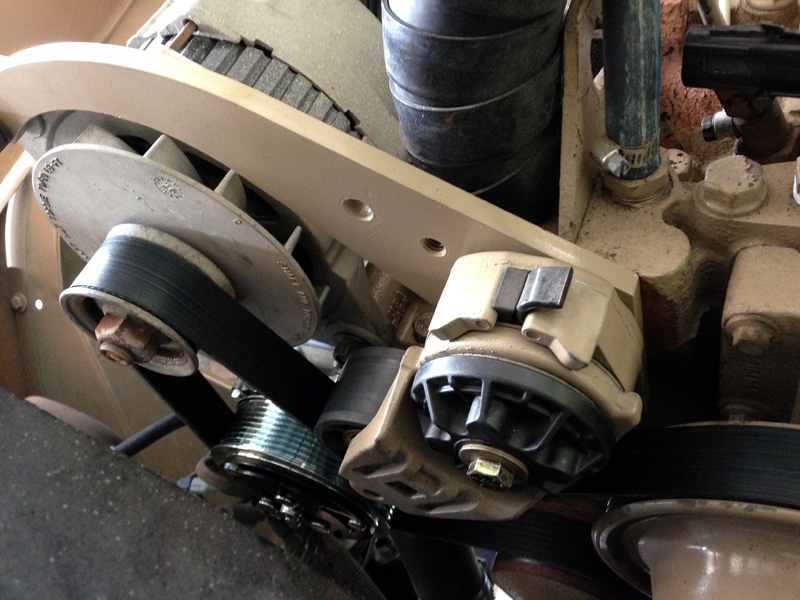
- 3930820 Lower Alternator Mount
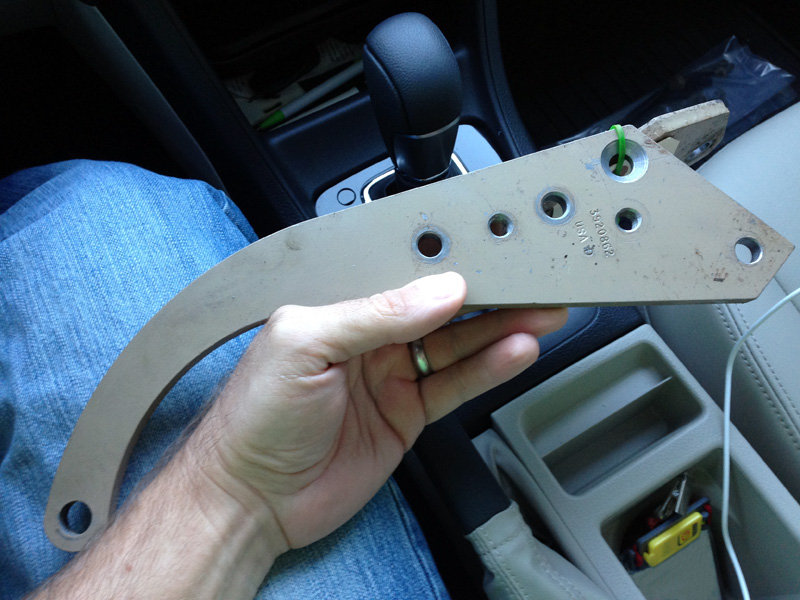
- 3920862 Upper Alternator Mount
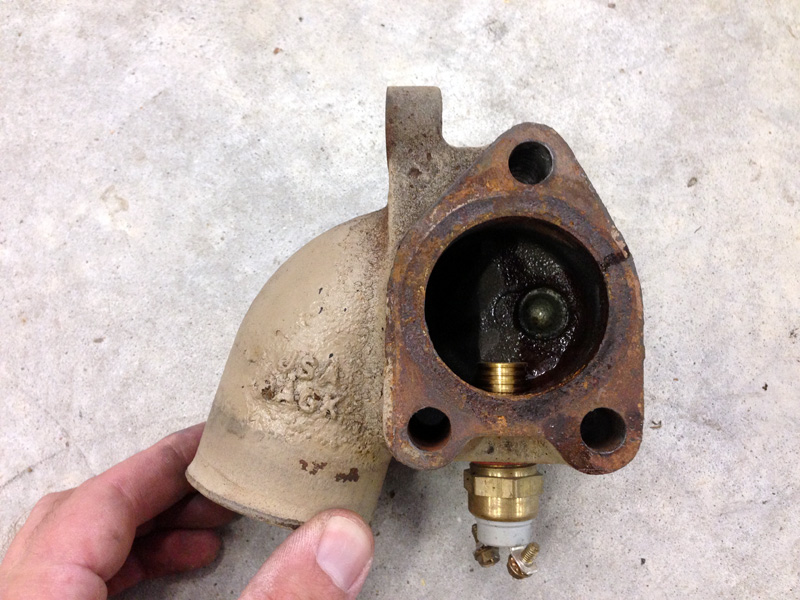
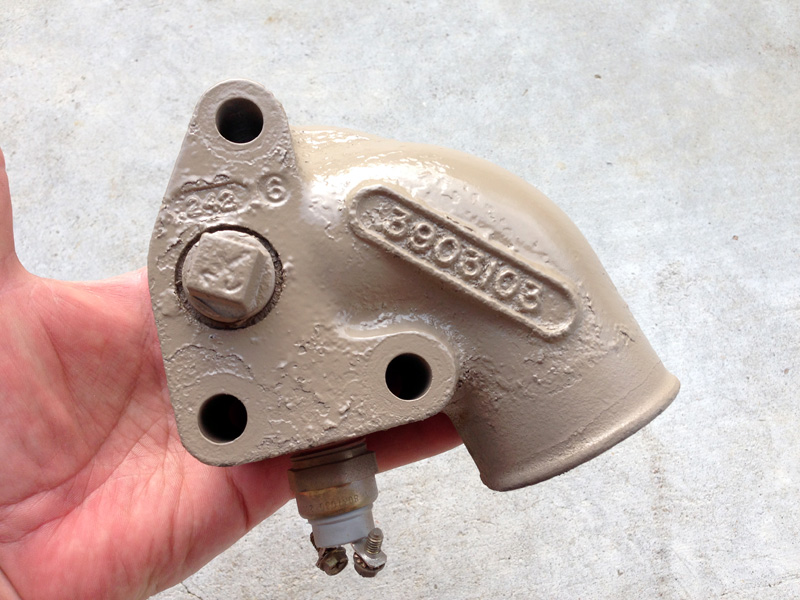
- 3903103 Lower Water Inlet
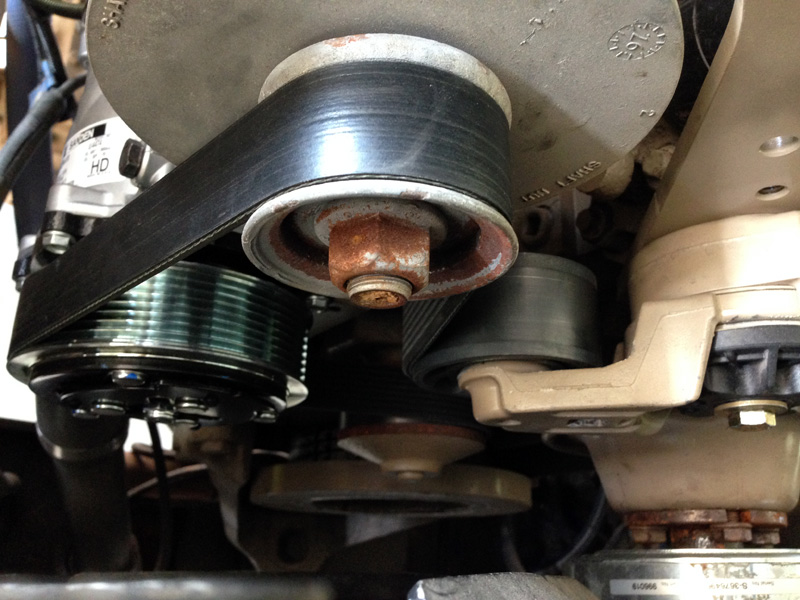
- 080720 Serpentine Belt
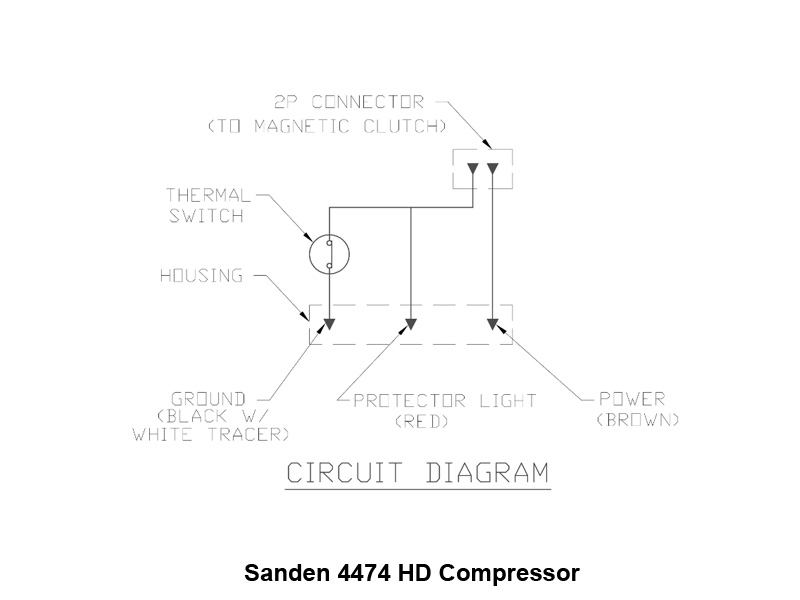
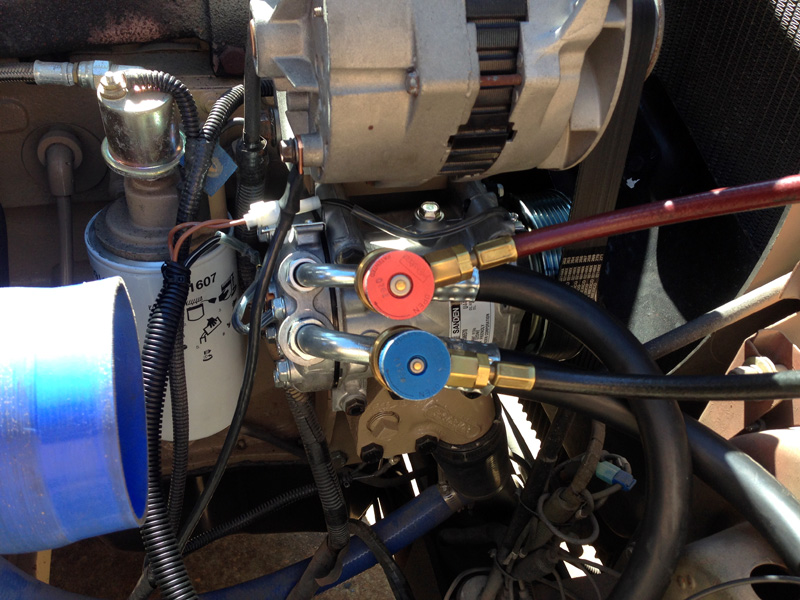
3) Sanden 4474 HD compressor
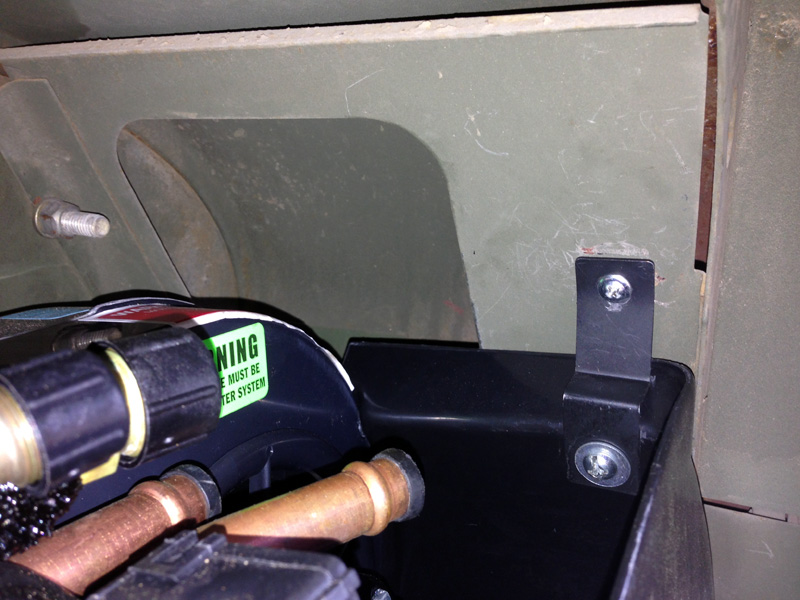
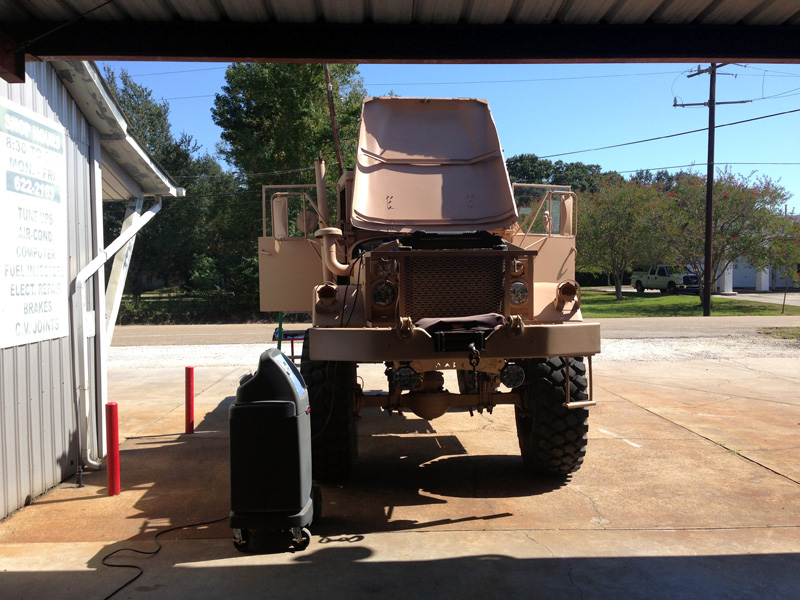
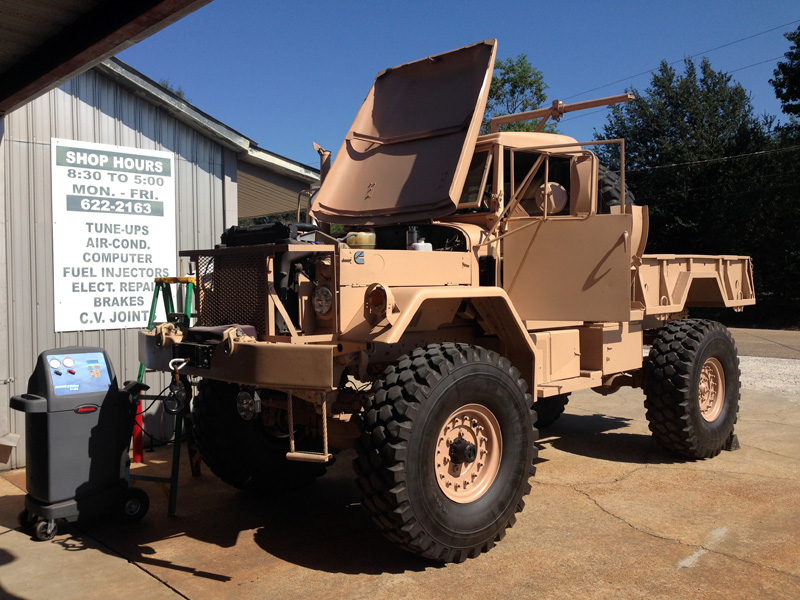
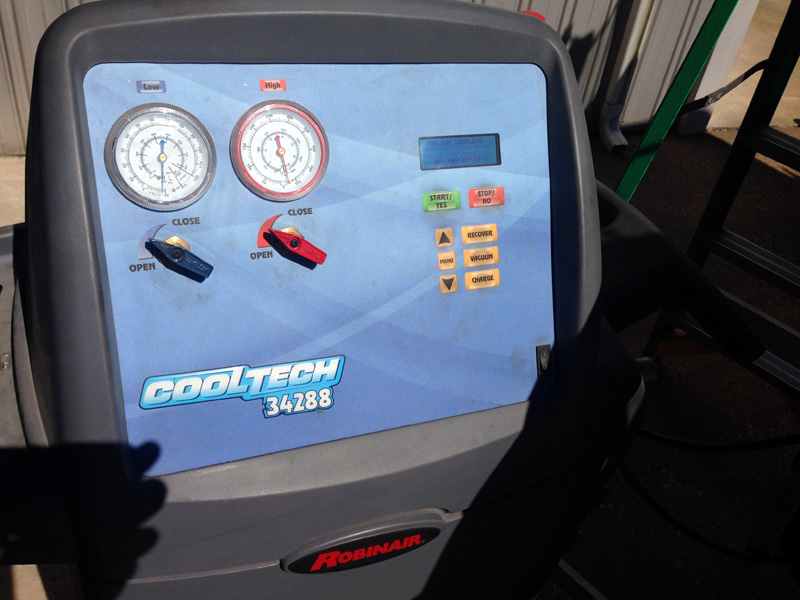
Bill's Auto Service in Galvez, LA completed the vacuum and freon install on my A/C system. Once the turbocharger discharge pipe to the intercooler was removed we were able to gain access to the low/high side fittings on the Sanden 4474 HD compressor. Bill pulled a vacuum on my Vintage Air system for 15 minutes, and then he let it sit for 30 minutes to check for a leak. No change in vacuum so he proceeded to fill the system with R-134a freon. Vintage air calls out for 1.8 lbs of R-134a, but we ended up using 2-1/4 lbs when it was all said and done.
It's such a weird feeling getting into this behemoth bobbed deuce, cranking it, and getting blasted with cold air. It's like I know this isn't supposed to be like this, but it's awesome!
Heat System
11/22/15
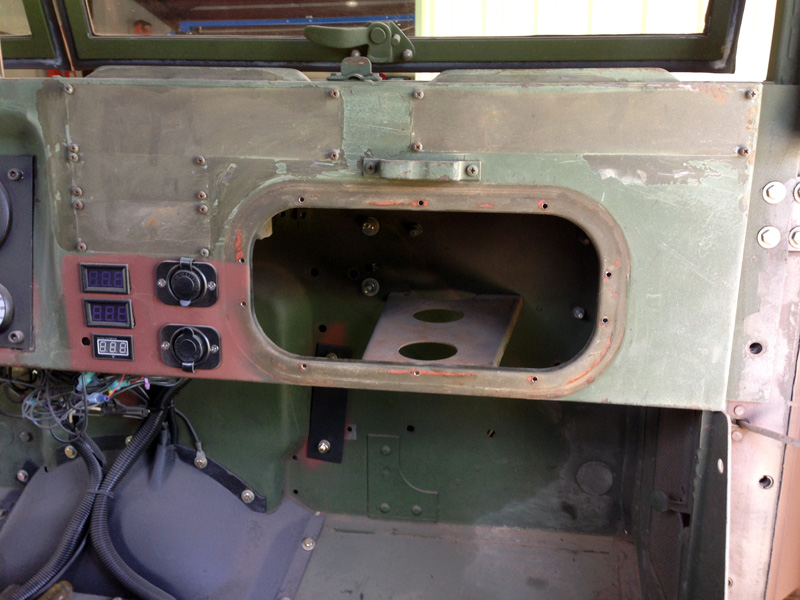
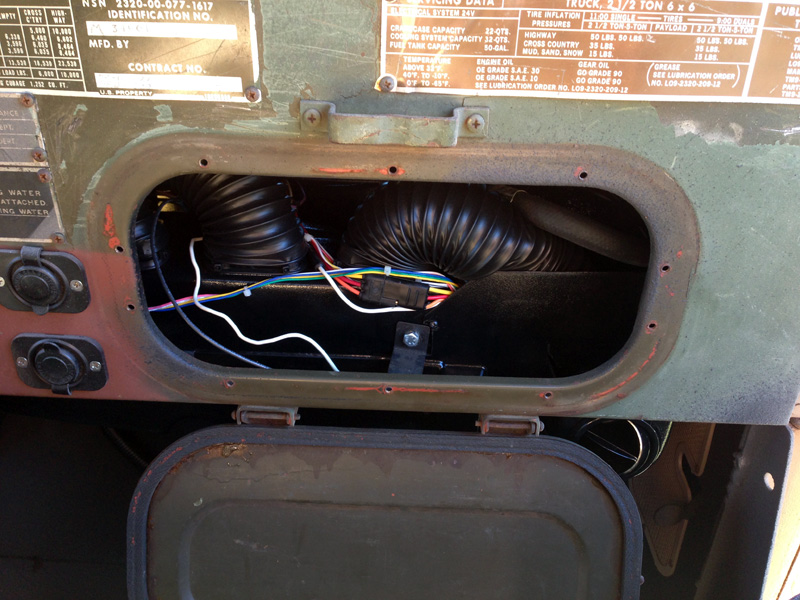
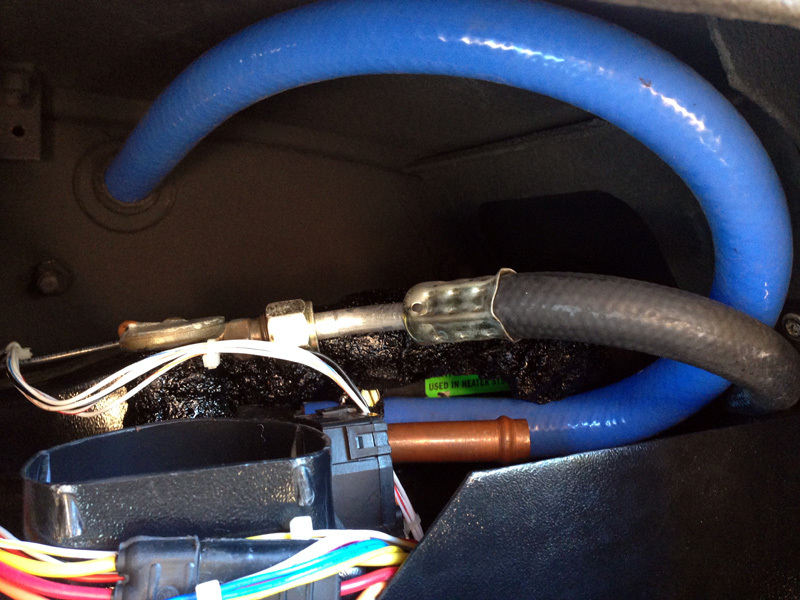
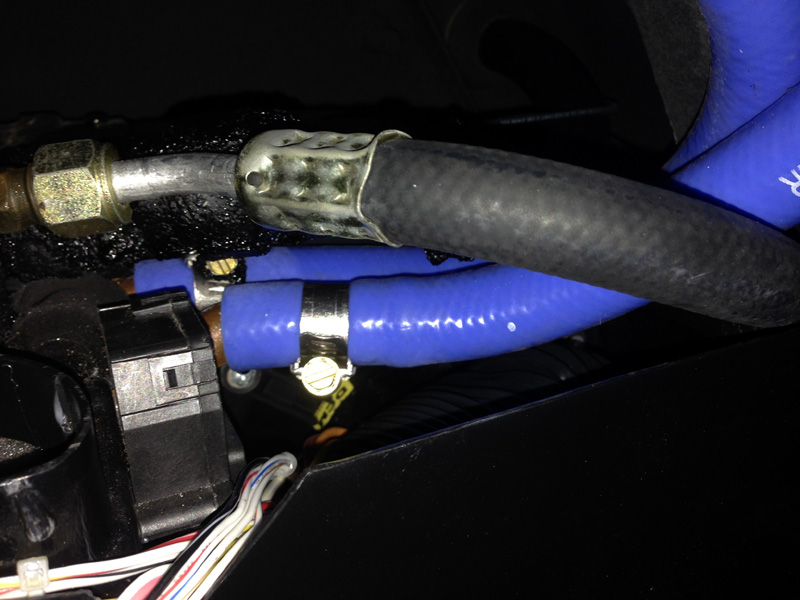
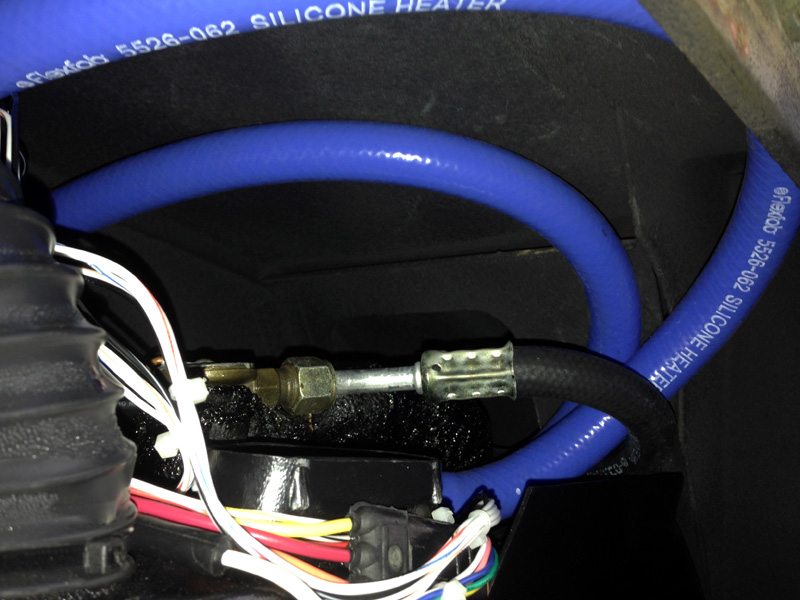
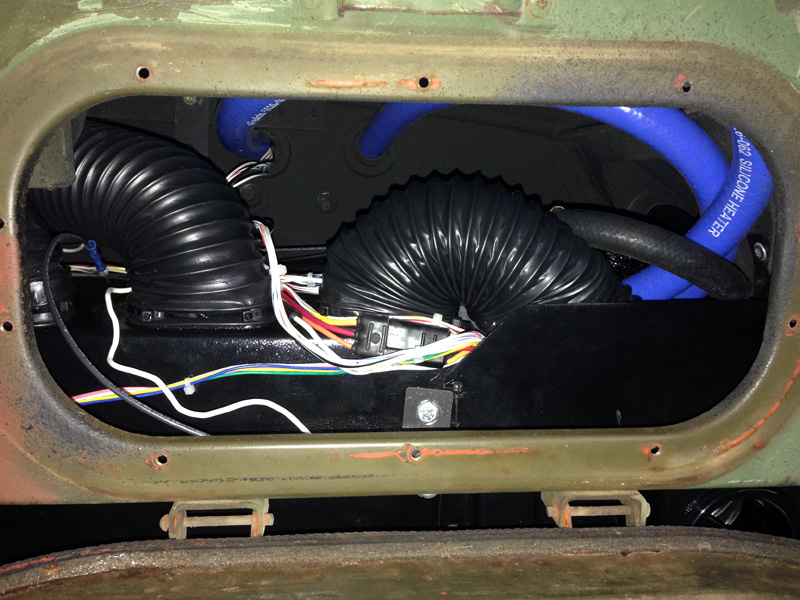
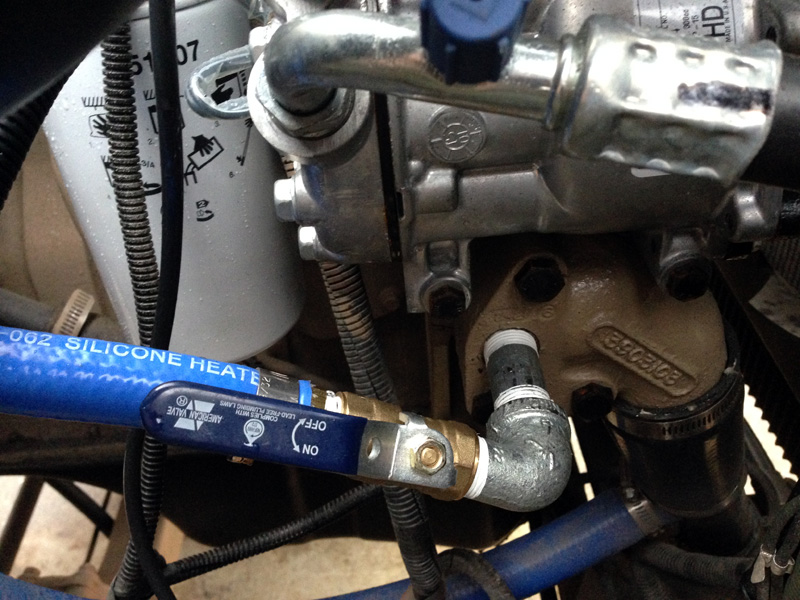
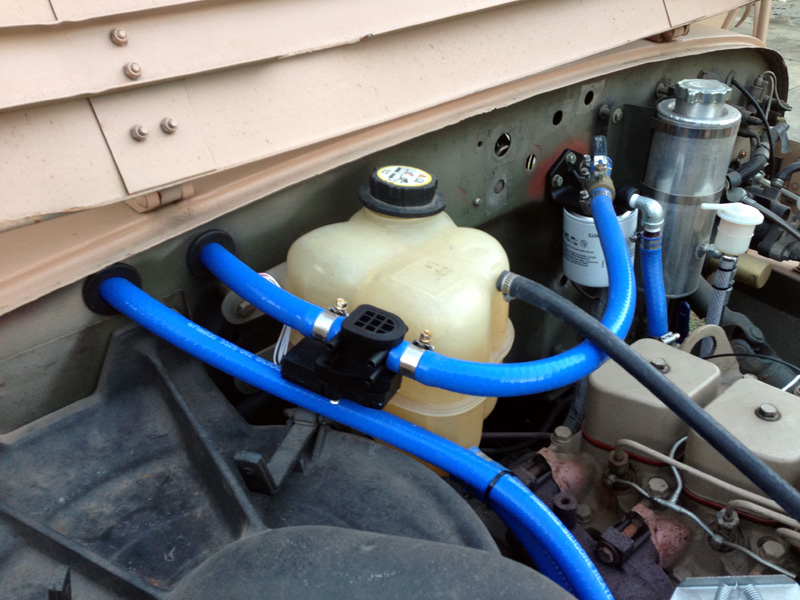
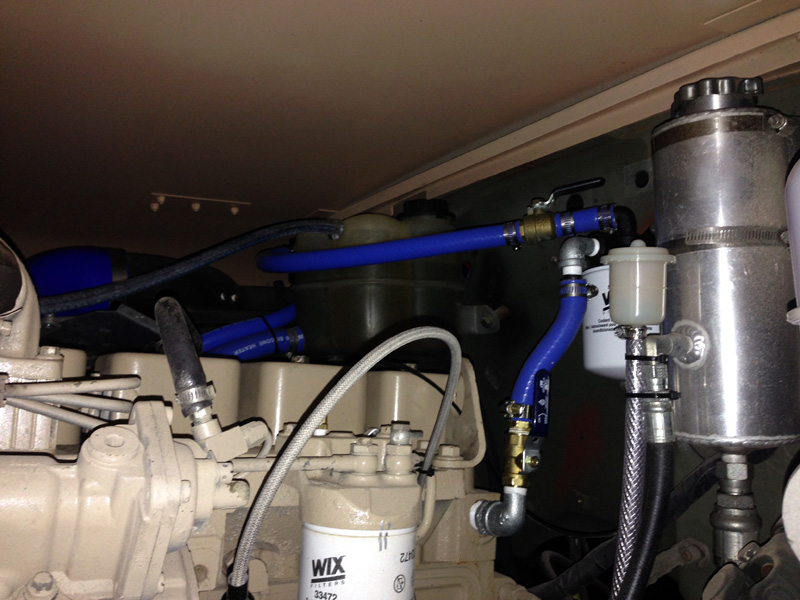
I finally found that I couldn't procrastinate any longer on the heater installation because the weather in Louisiana was finally starting to turn colder. Freightliner provided the 5/8" ID silicone heater hose and the clamps. The heater valve was the last remaining part to be installed from the Vintage Air Gen II Super system. I started by connecting the 5/8" ID silicone hose to the heater core behind the dash. It's really easy to work on the A/C system when most of the system is right behind the glove box door. After both heater hoses were connected to the heater core
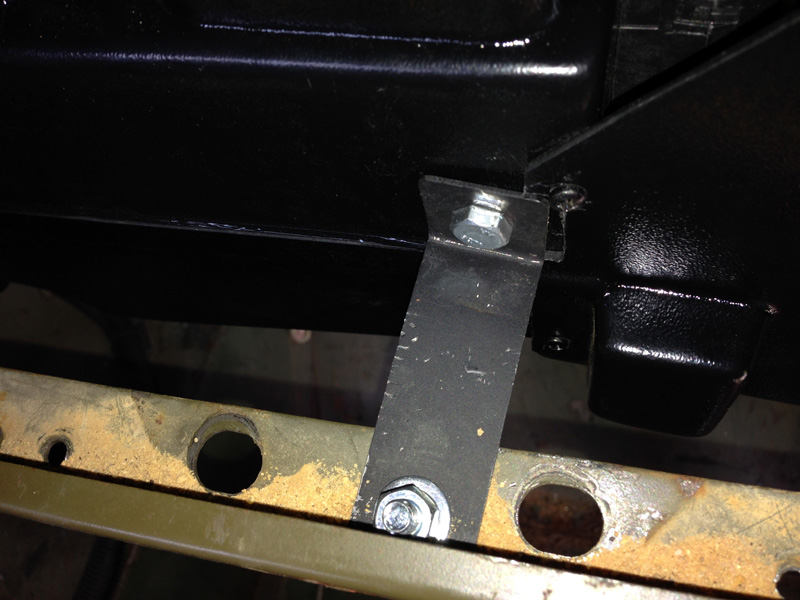
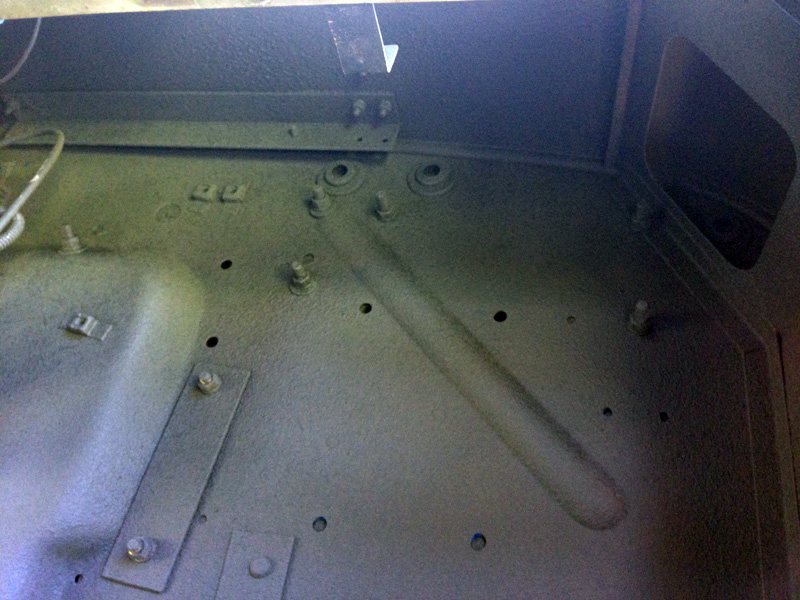
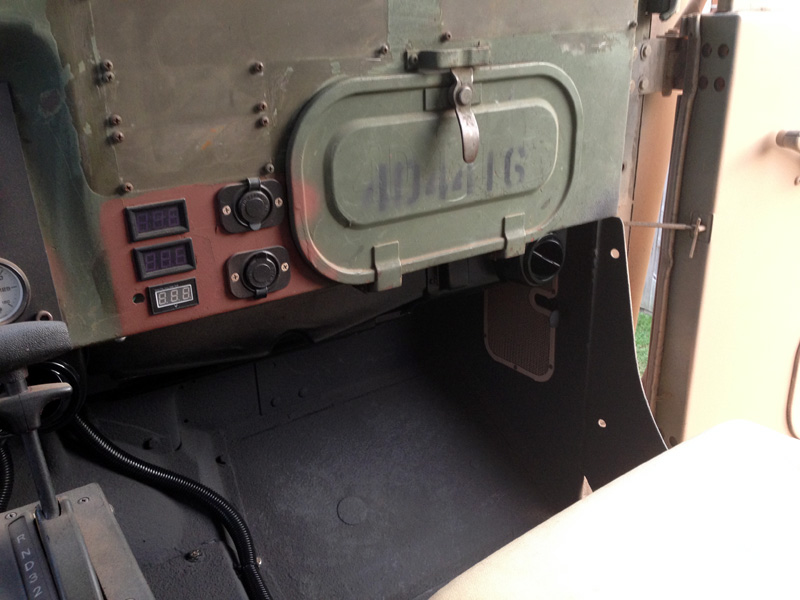
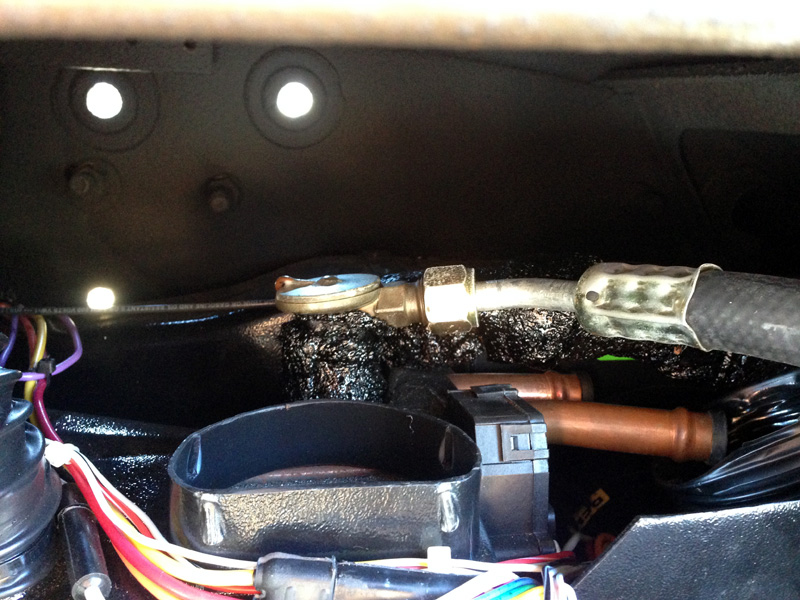
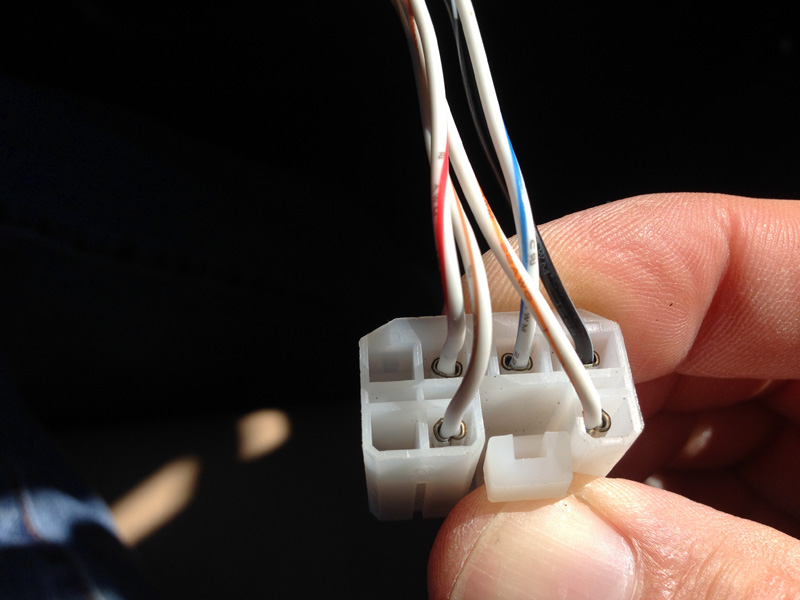
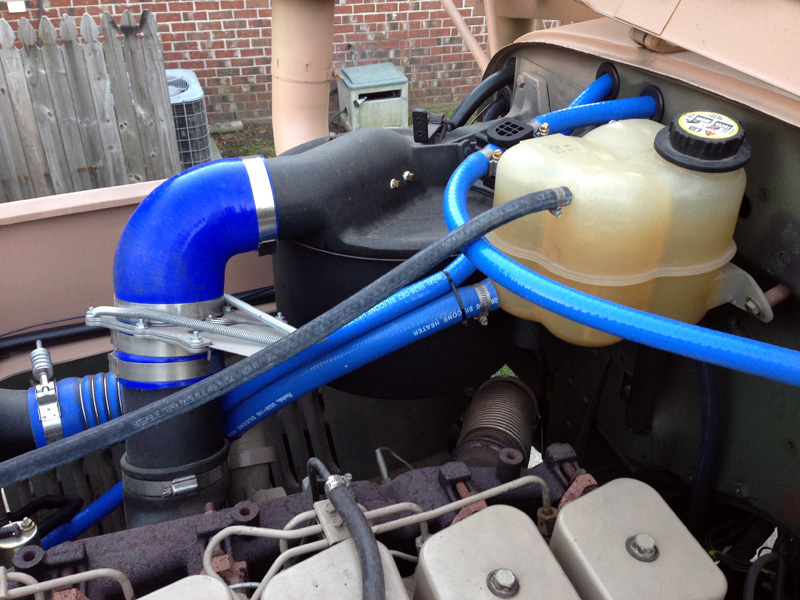
I ran the heater servo valve wiring through the grommet next to one of the heater hoses. I snapped a picture of the heater servo valve wiring connector because I had to temporarily remove it to snake the wires through the grommet. In the garage I found the leftover coolant filter kit that I had installed on the original multifuel engine, so I decided to install it again. I picked up a brand new WIX coolant filter to start off with a fresh batch of diesel coolant additive (DCA). The heater hoses are a little higher than the coolant reservoir, so I thought I would need to raise the reservoir to keep
air bubbles out. Just as a test I completed the installation and opened the heater valves. I topped off the coolant to the top mark for a cold engine, and I drove it around to get up to operating temperature. It took about another gallon to compensate for the extra room provided by the heater core, coolant filter, and 5/8" ID silicone heater hose. To my amazement there aren't any issues with running the heater hoses higher than the coolant reservoir. The discharge port at the back of the Cummins 6BT engine must have enough pressure to push through the coolant filter and
purge all of the air out of the higher heater hoses.
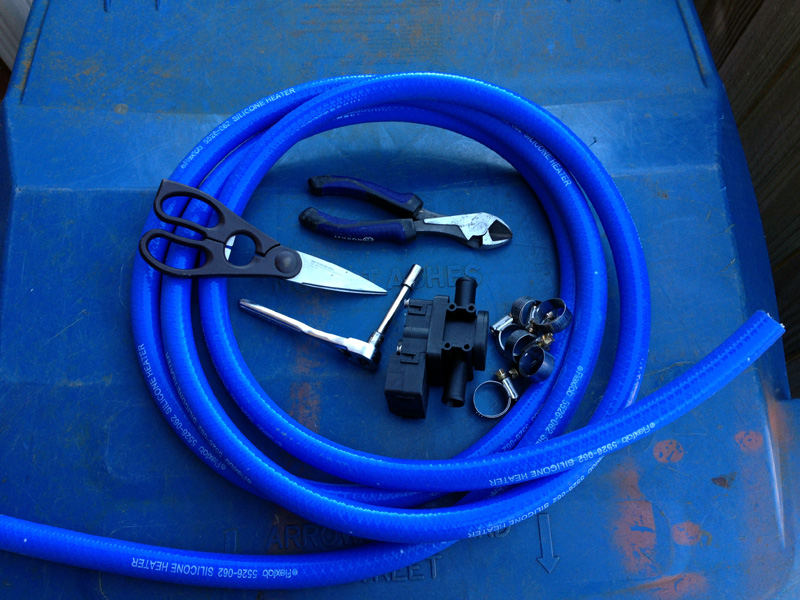
Heater parts:
- Vintage Air Gen II Super system heater valve
- 5/8" ID silicone heater hose (Freightliner)
- Breeze hose clamps (Freightliner)
- Coolant Filter Kit (NAPA #24019)
- Coolant Filter (WIX #24072)
- 1/2" ball valves, pipe fittings (Lowe's)
- Teflon tape (toolbox)
|